|
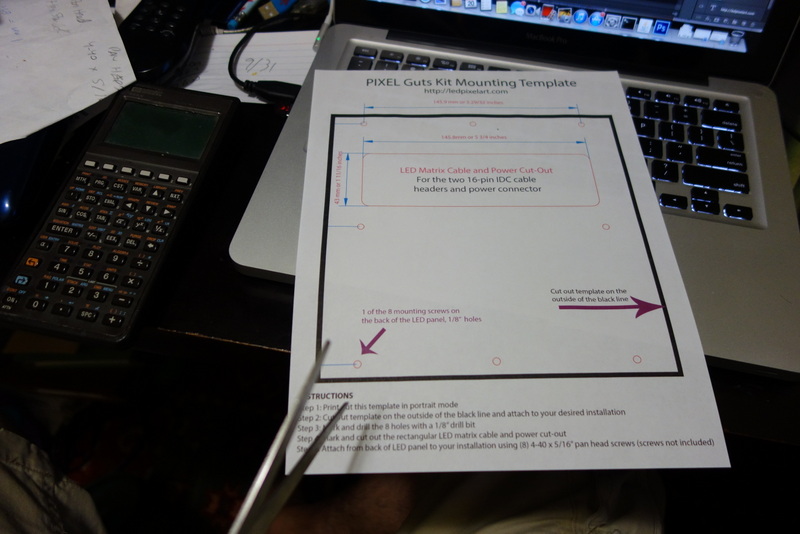
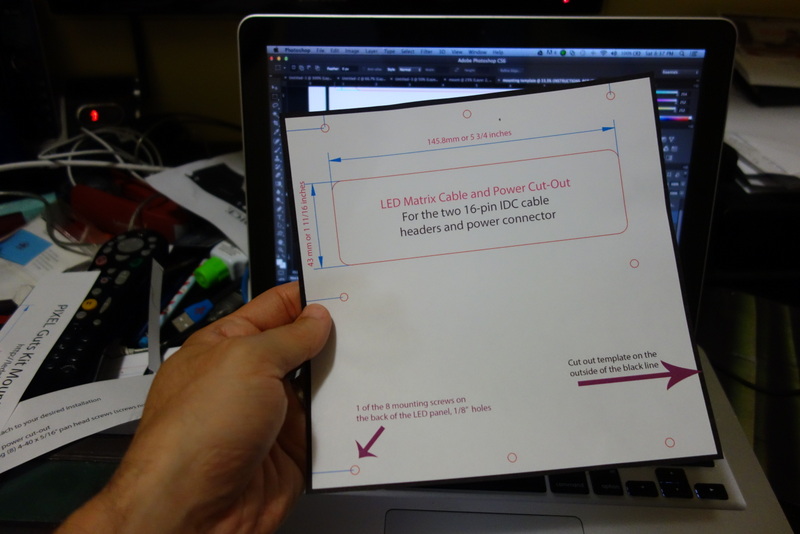
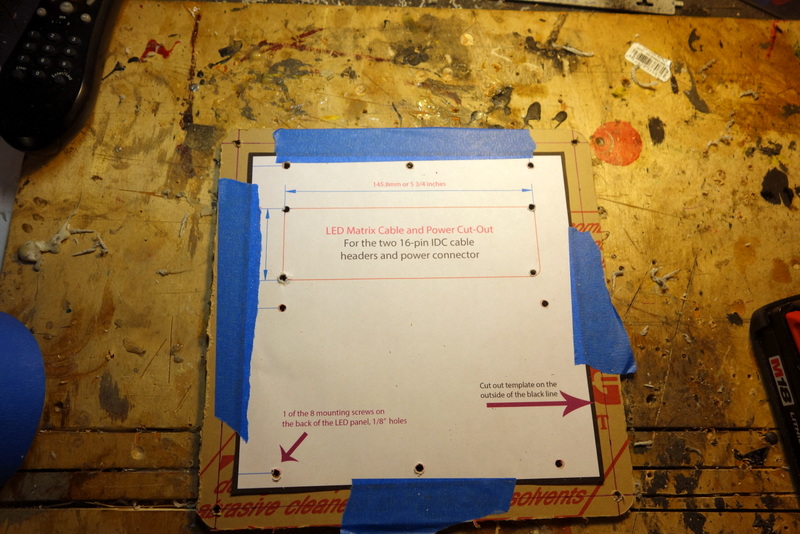
Print out the mounting template in portrait mode |
 |
Use your scissors to cut out the template. Cut on the outside of the black line. |
| |
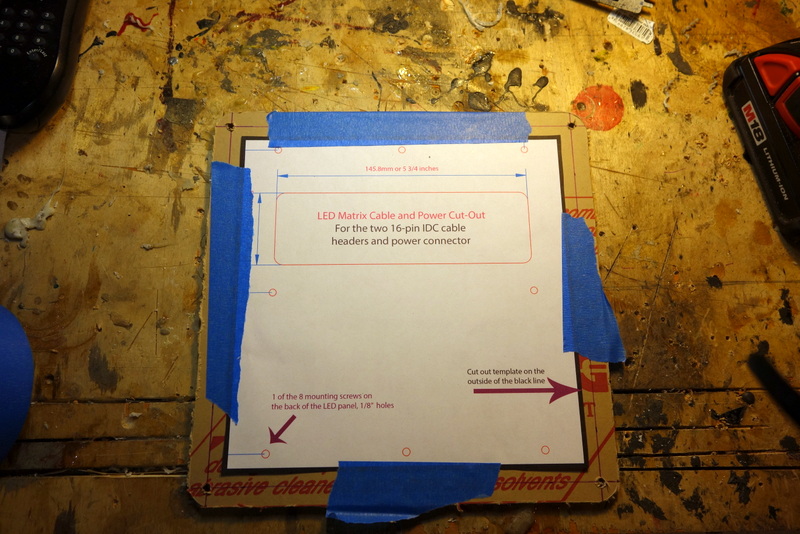
Tape the template to the material you’ll be mounting the LED display |
| |
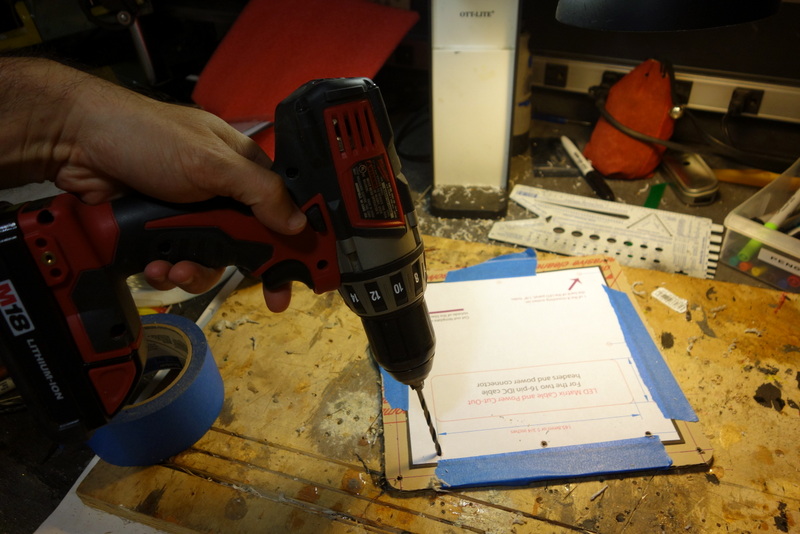
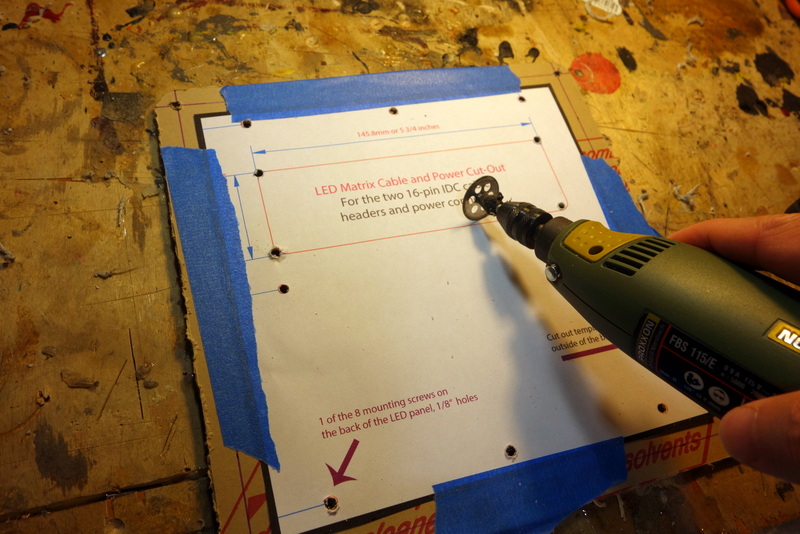
Drill the 8 holes using a 1/8″ or 3/16″ drill bit. 3/16″ will give you a bit more clearance and margin for error. |
| |
The holes drilled |
| |
Use a rotary tool or alternative tool to cut-out the rectangle opening for the LED display cables and power |
| |
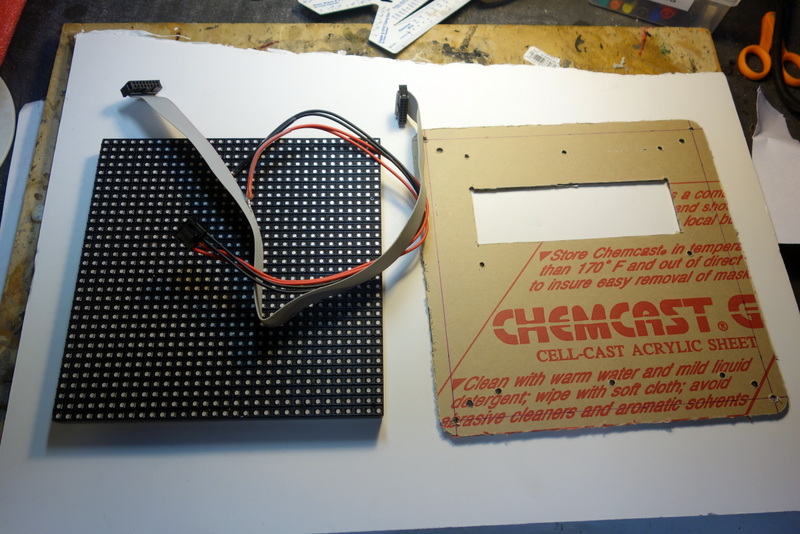
Finished mount |
| |
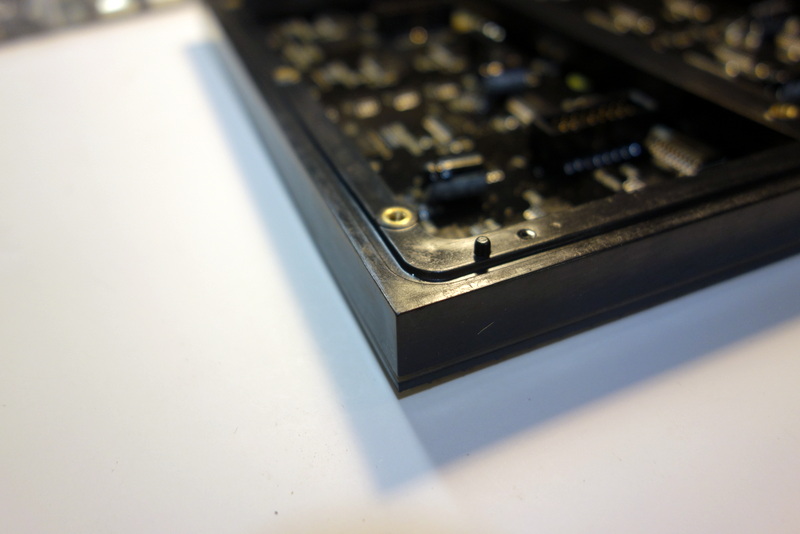
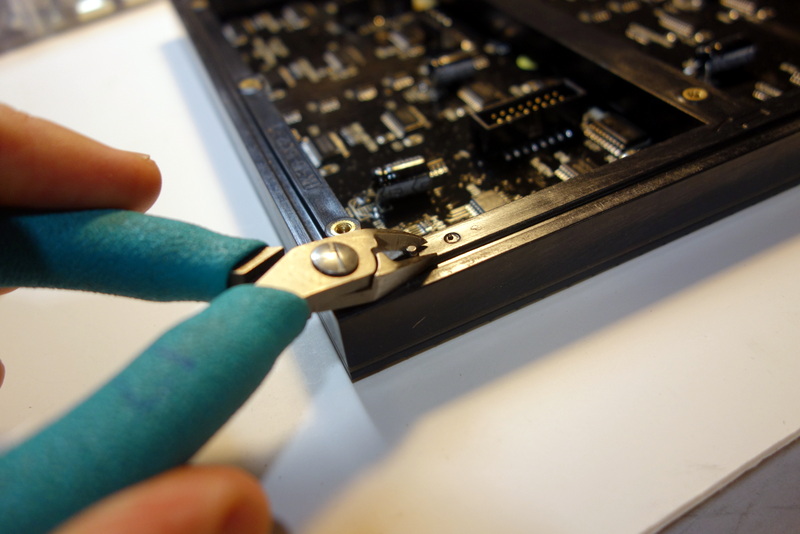
Before mounting the LED display, cut off the two nubs sticking up on the back of the panel |
| |
Use a flush cutter to cut off the two nubs |
| |
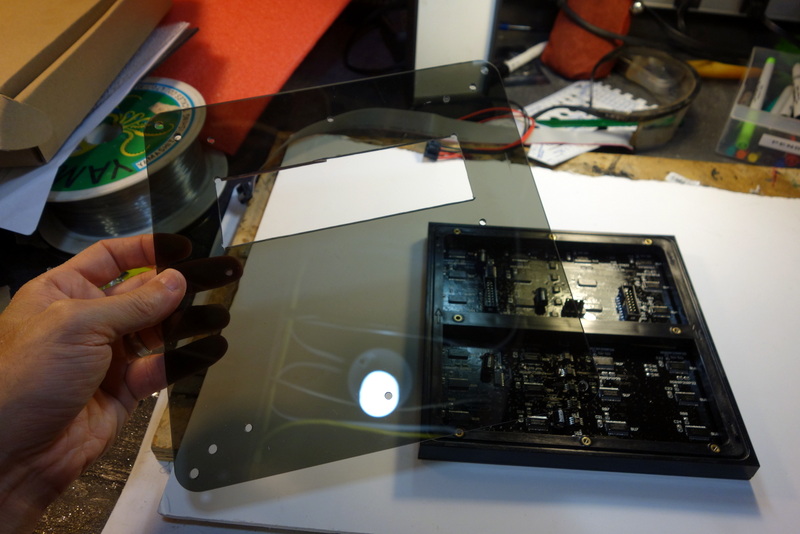
Now mount to the back of the LED display |
|
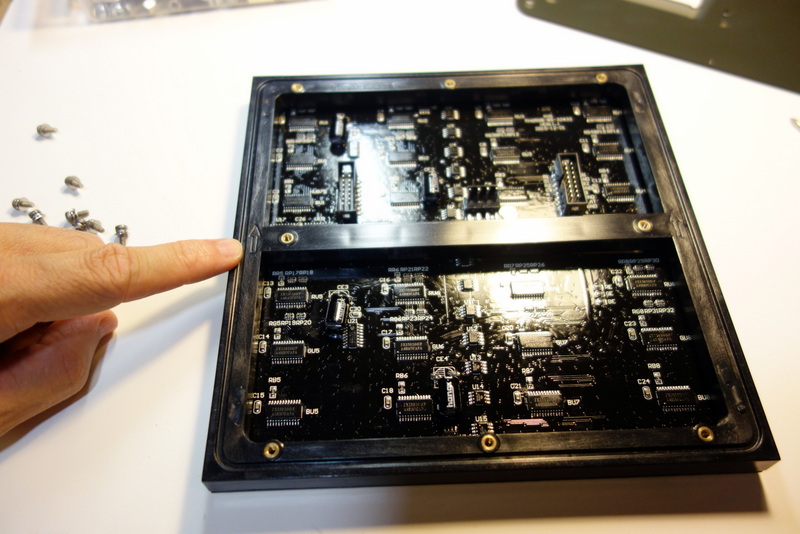
Pay careful attention to the orientation, see the arrow pointing up which indicates the right direction |
| |
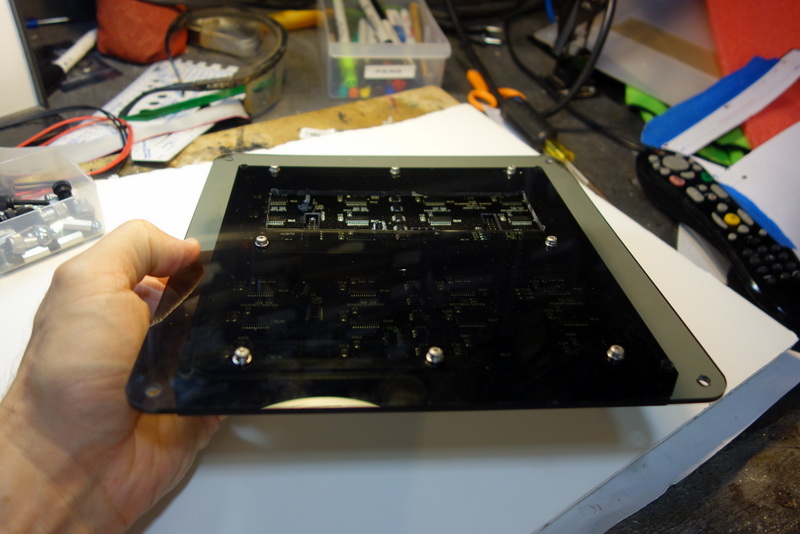
Screw in the 8 screws, use 4-40 x 5/16″ pan head screws |
| |
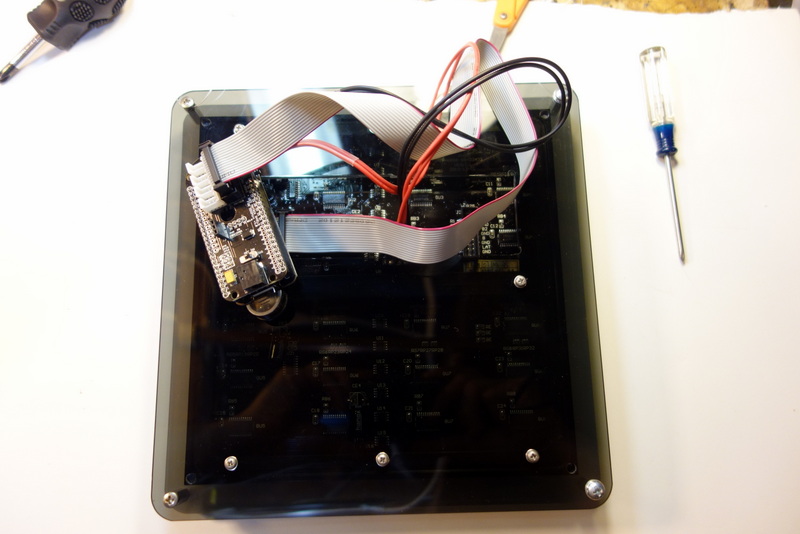
The back after mounting |
| |
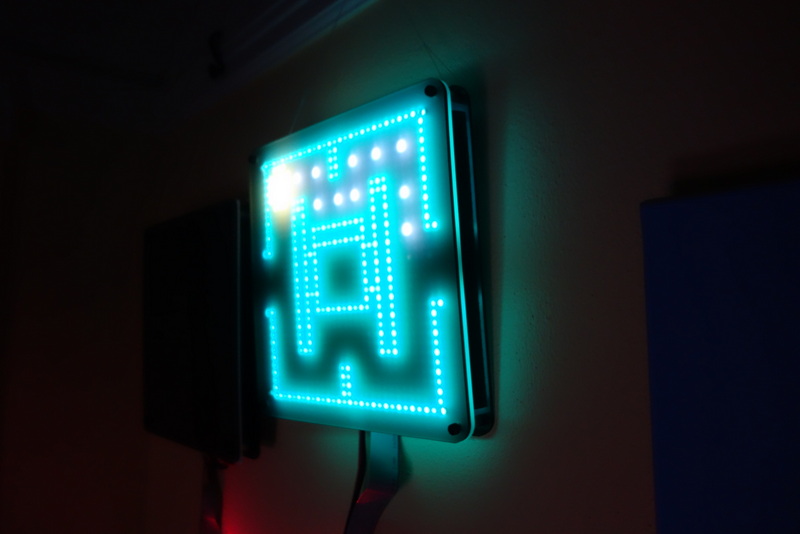
Enjoy your new creation |