How to upgrade PIXEL V1 to a PIXEL V2 board that can play animations in stand alone mode:
Tools Required: Flathead and Philips screwdrivers, small piece of duct tape
Video Instructions (note the on/off switch show in step 11 is not shown in the video)
Or Step by Step Instructions
1. Lay PIXEL face down on a smooth surface.
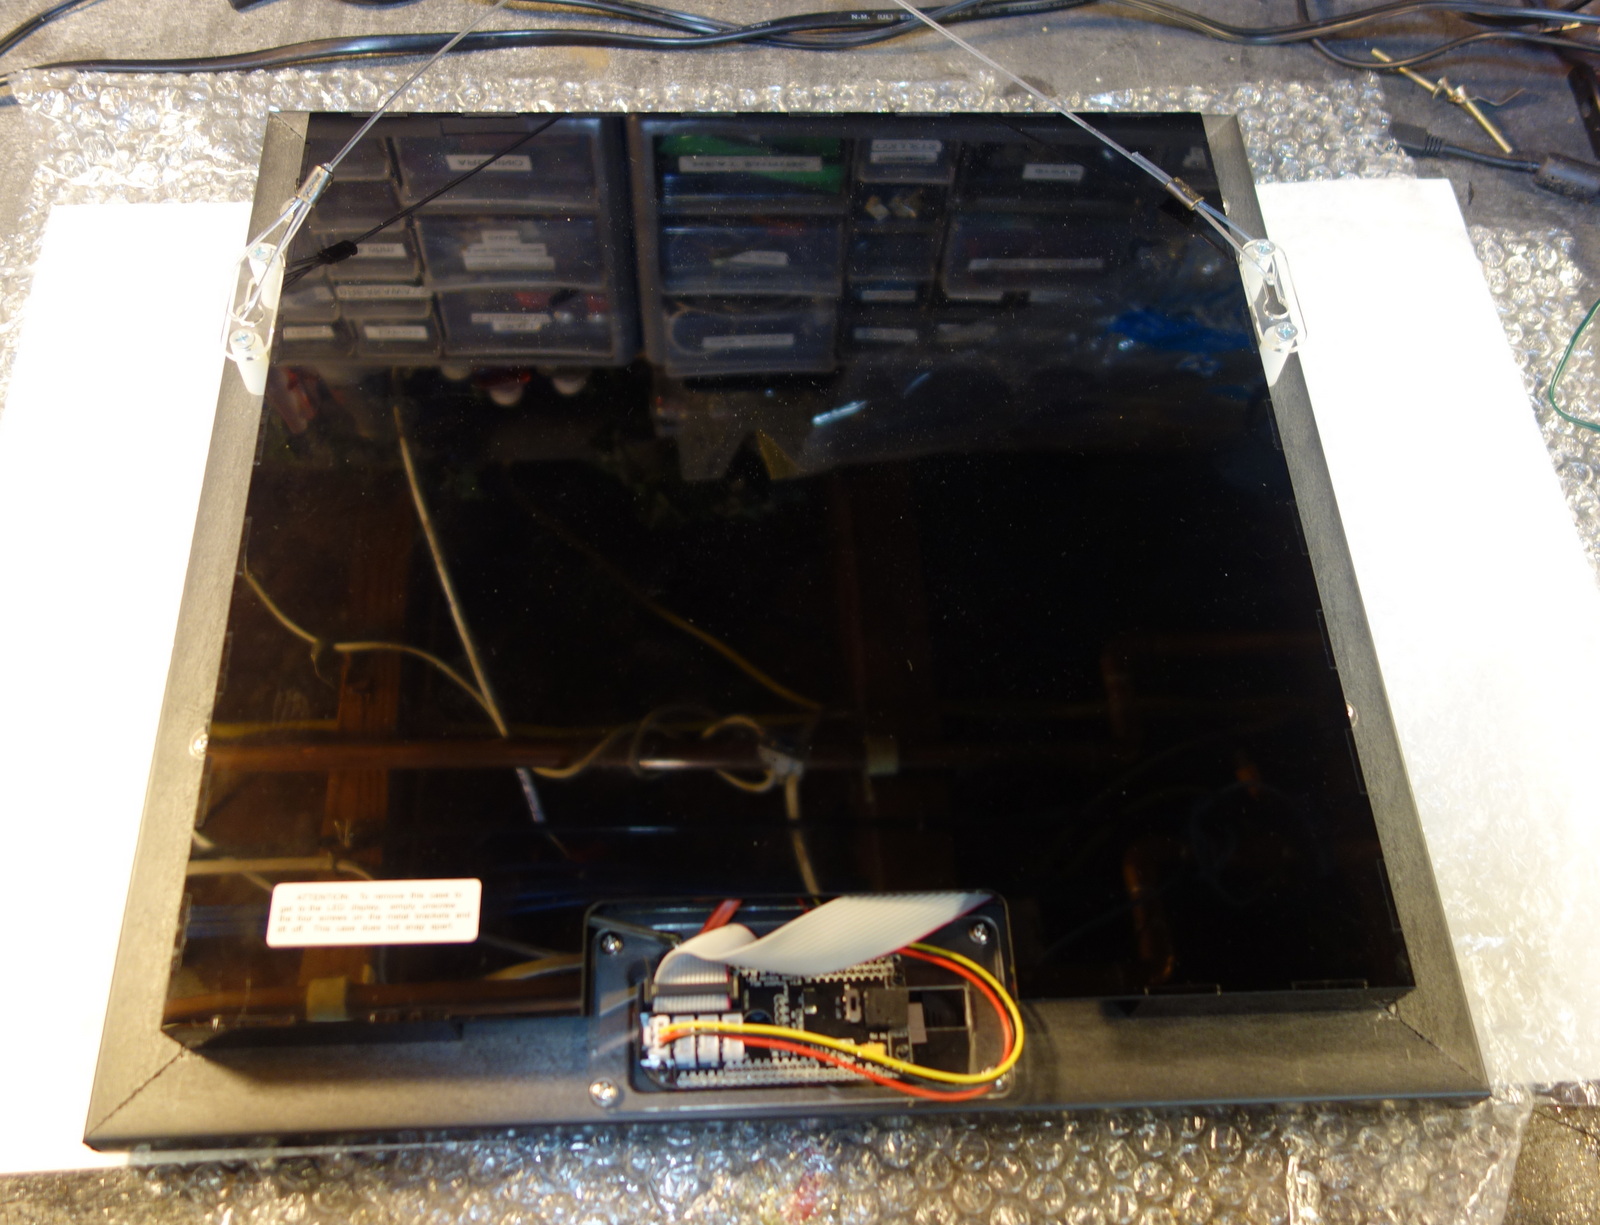
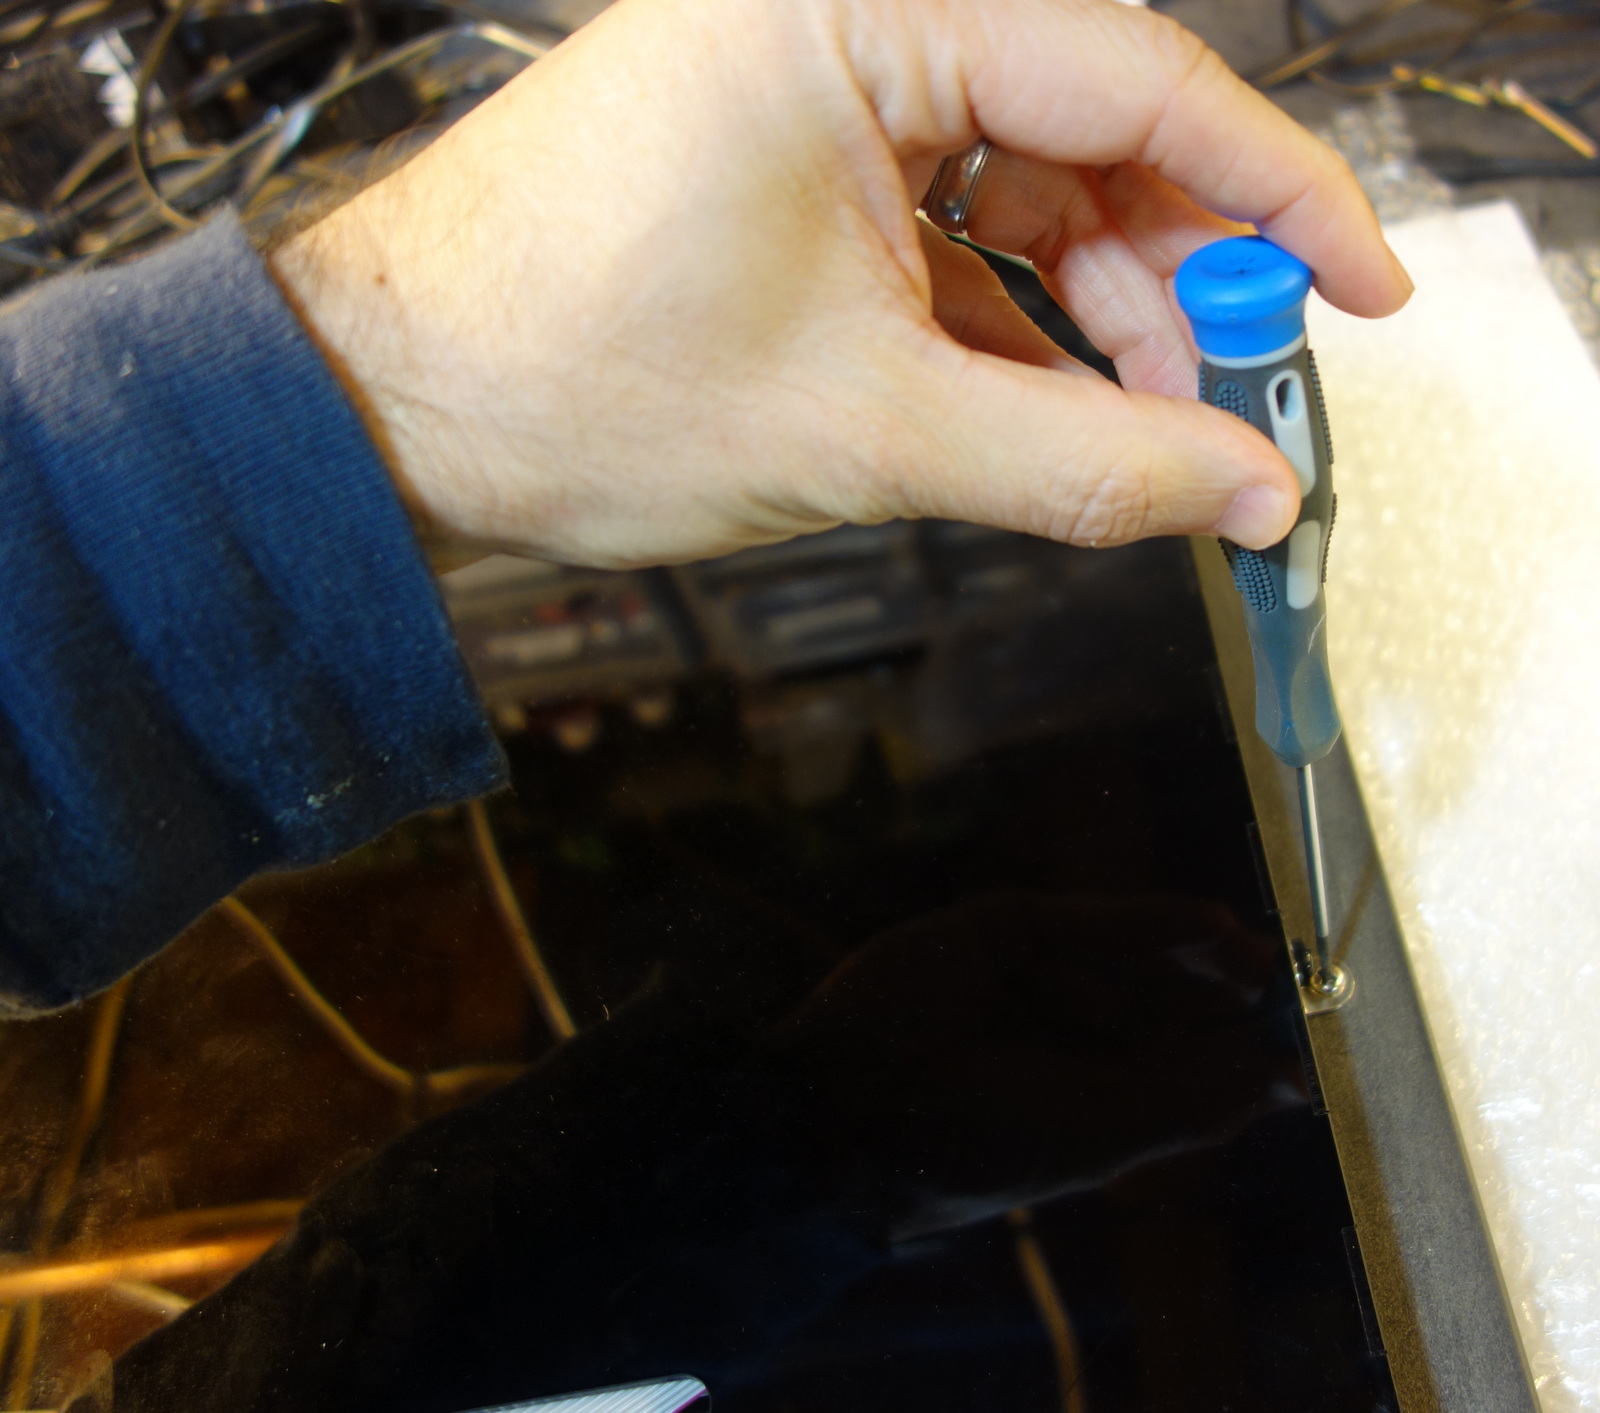
2. Unscrew the four back case screws and remove the back case.
 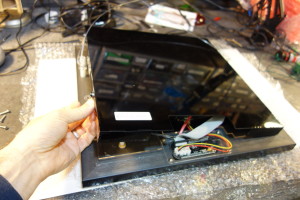 |
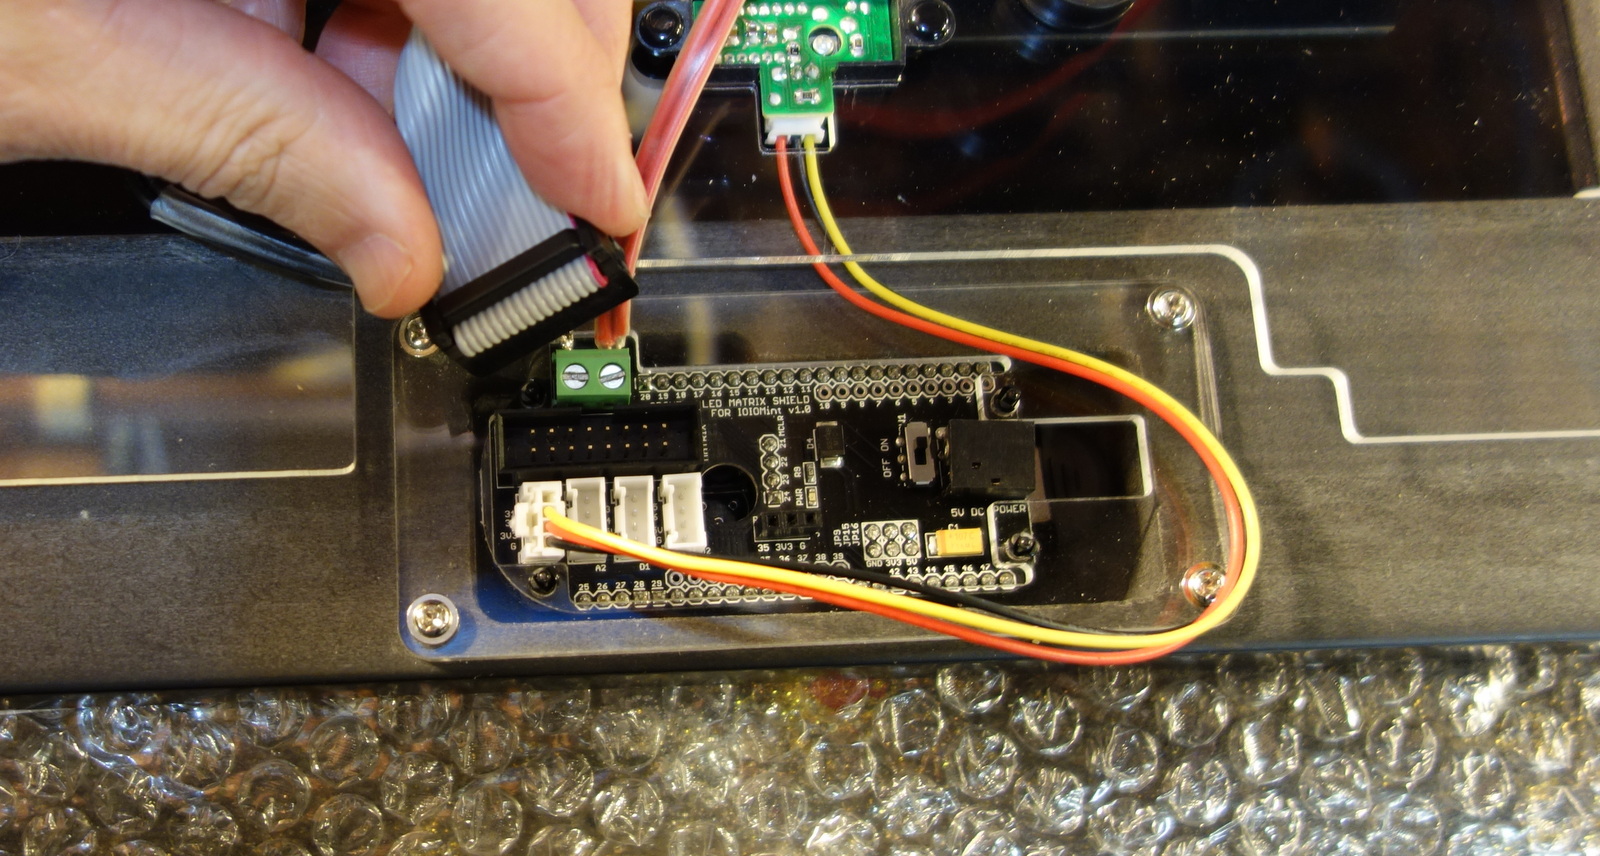
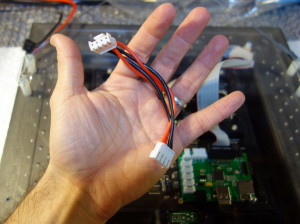
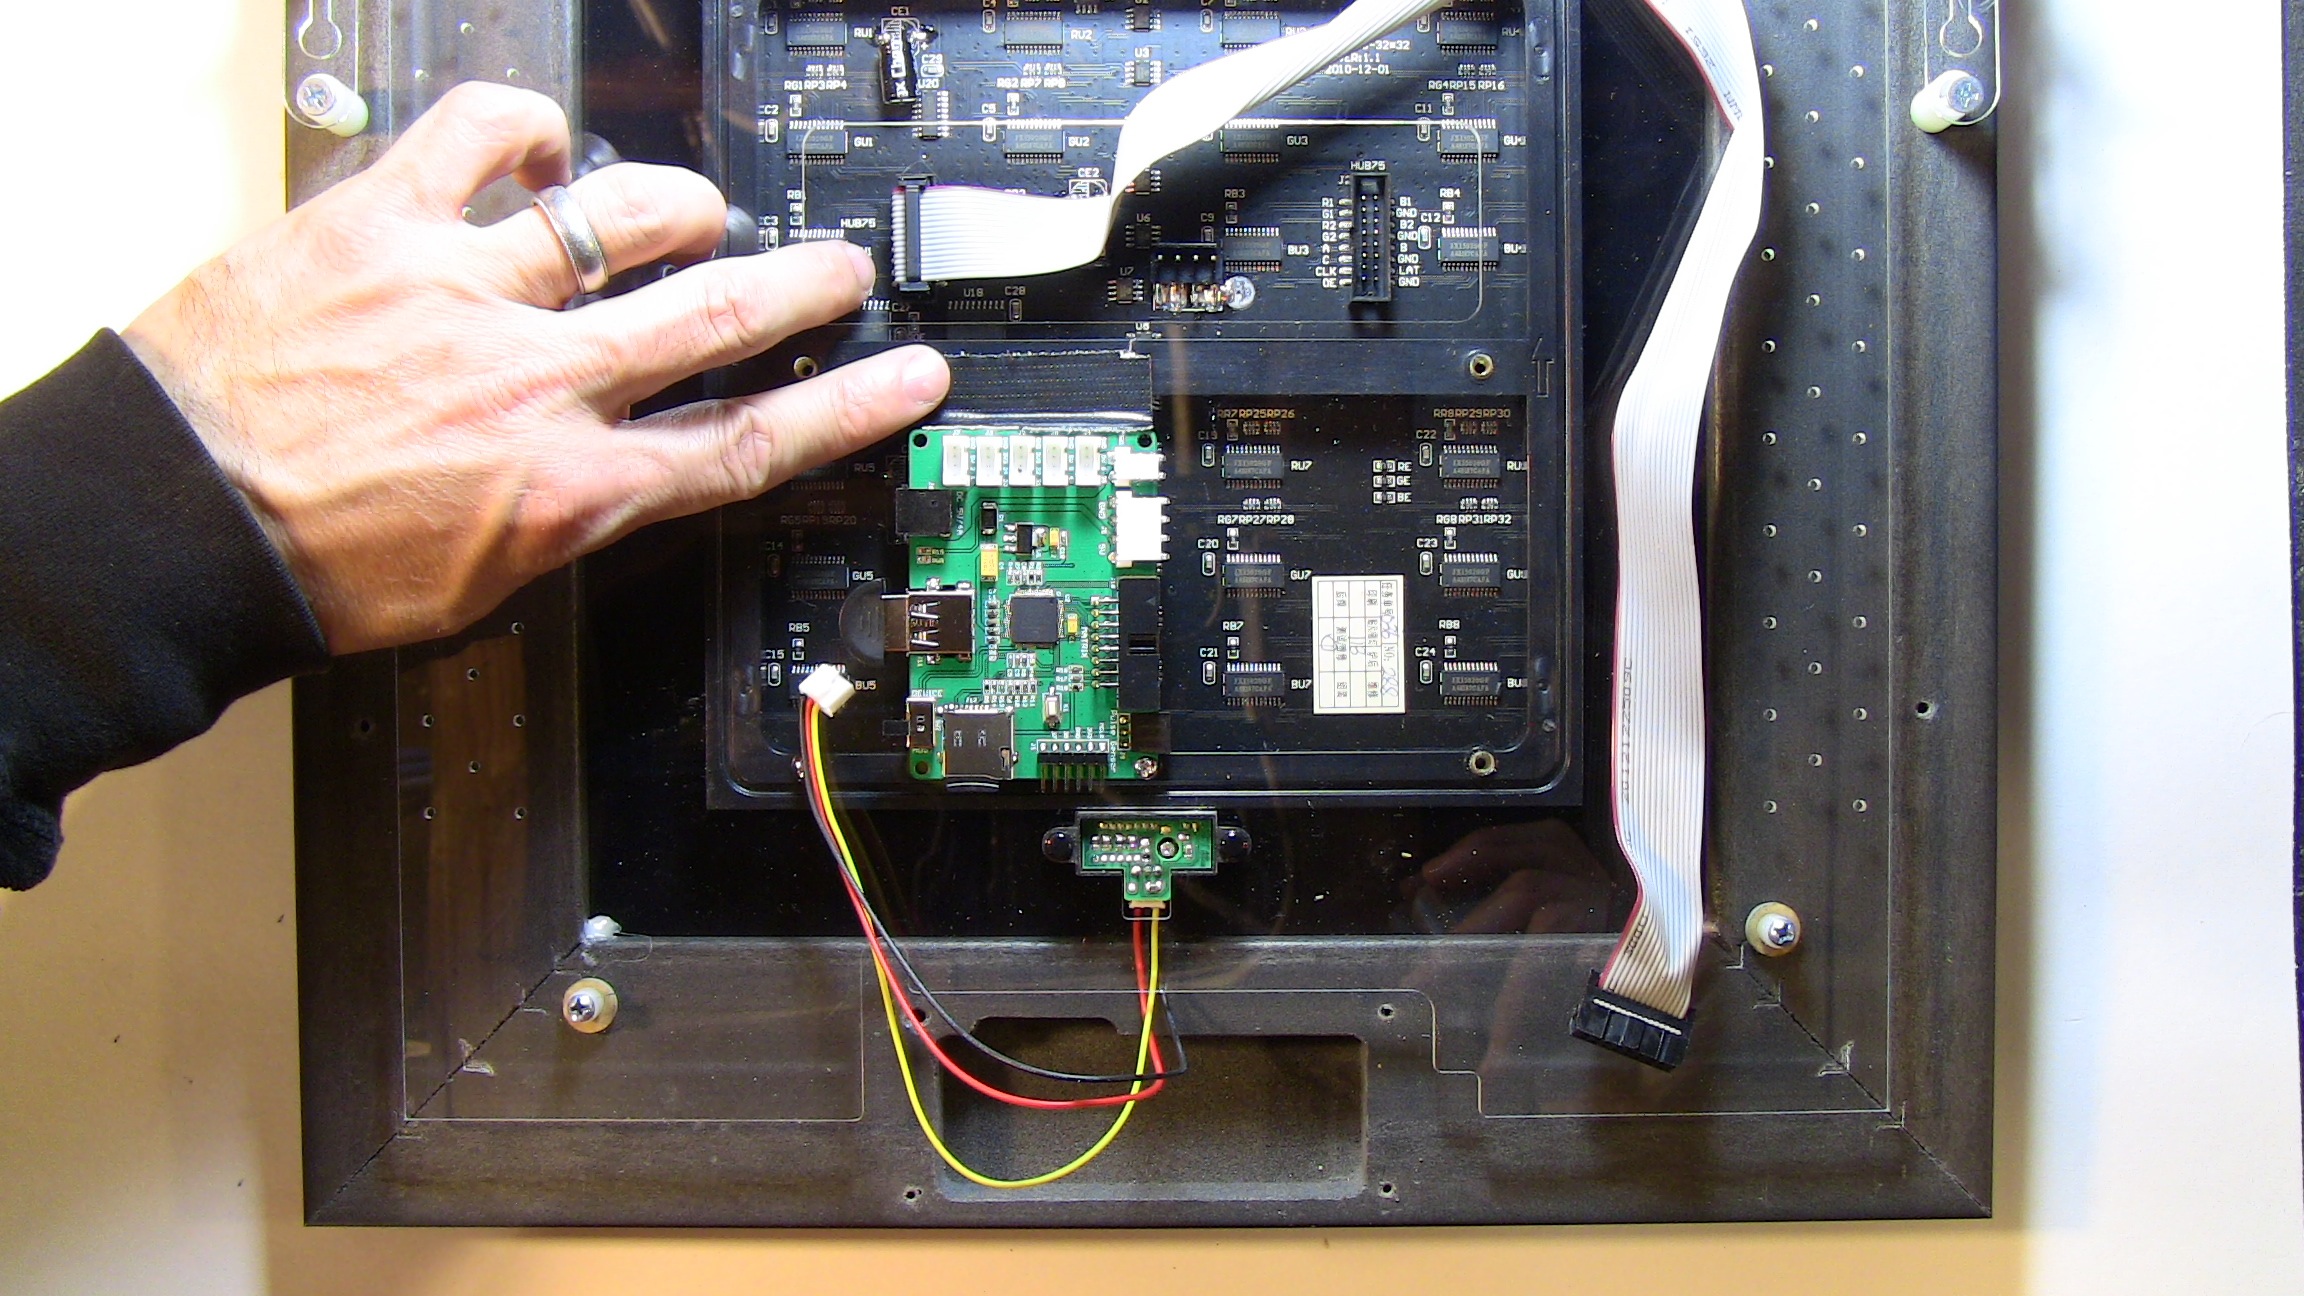
3. Remove the ribbon cable, power connector, and proximity sensor cable from the old board.
 |
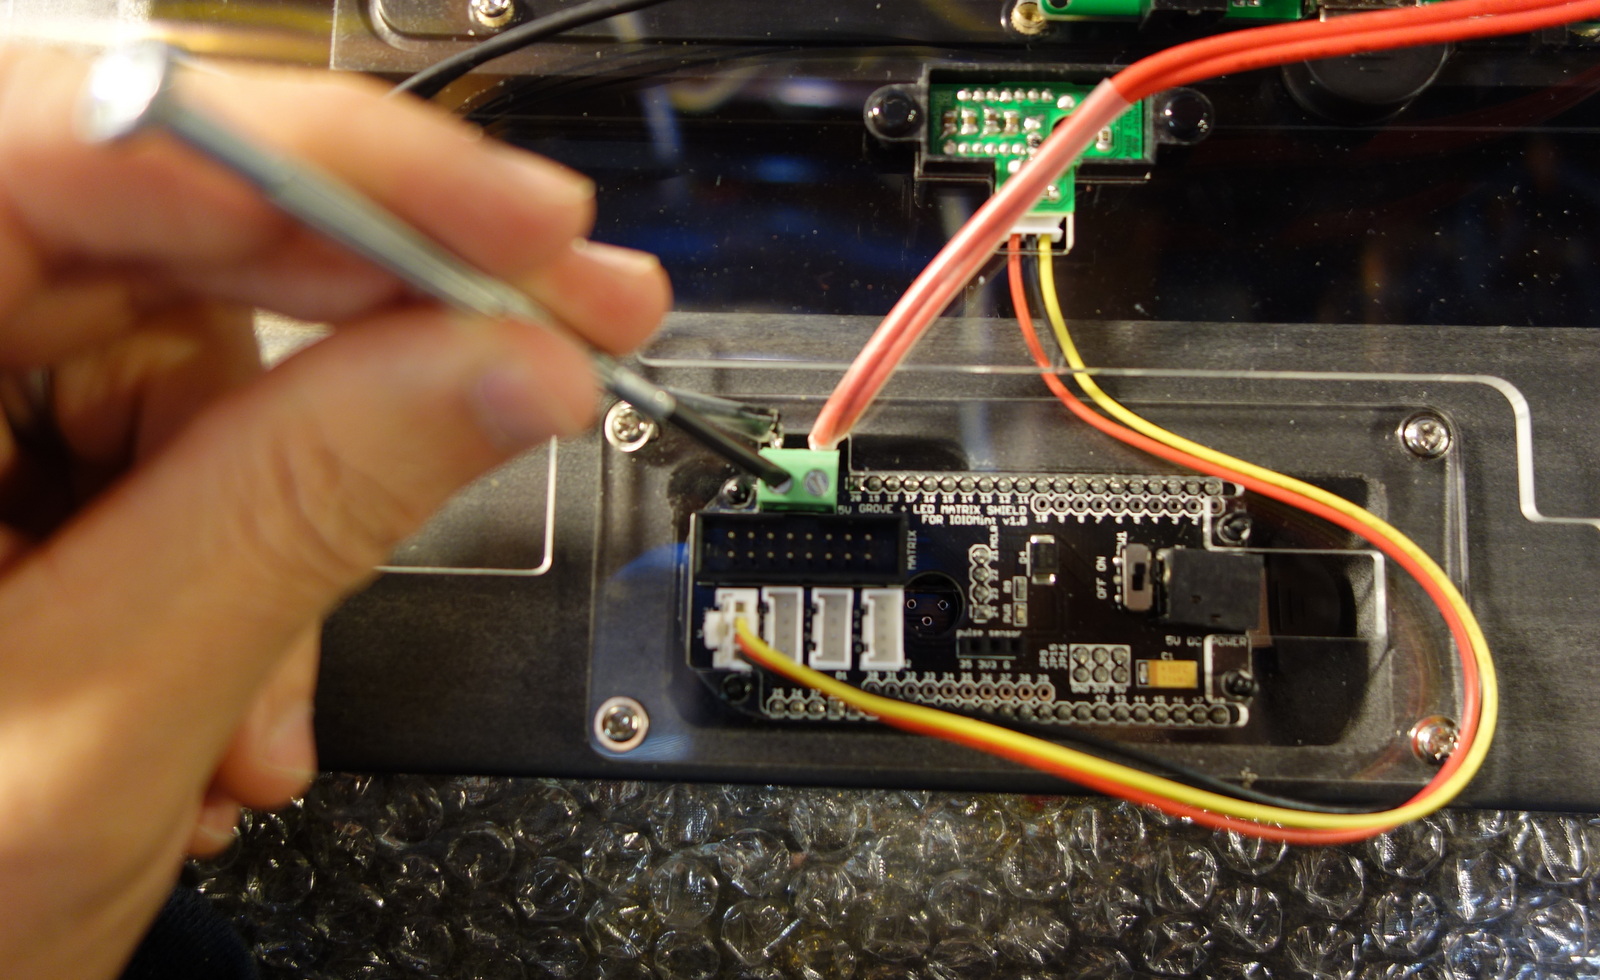 |
4. Undo the 4 screws and remove the old board. Take the Bluetooth dongle from the old board and plug into the V2 board.
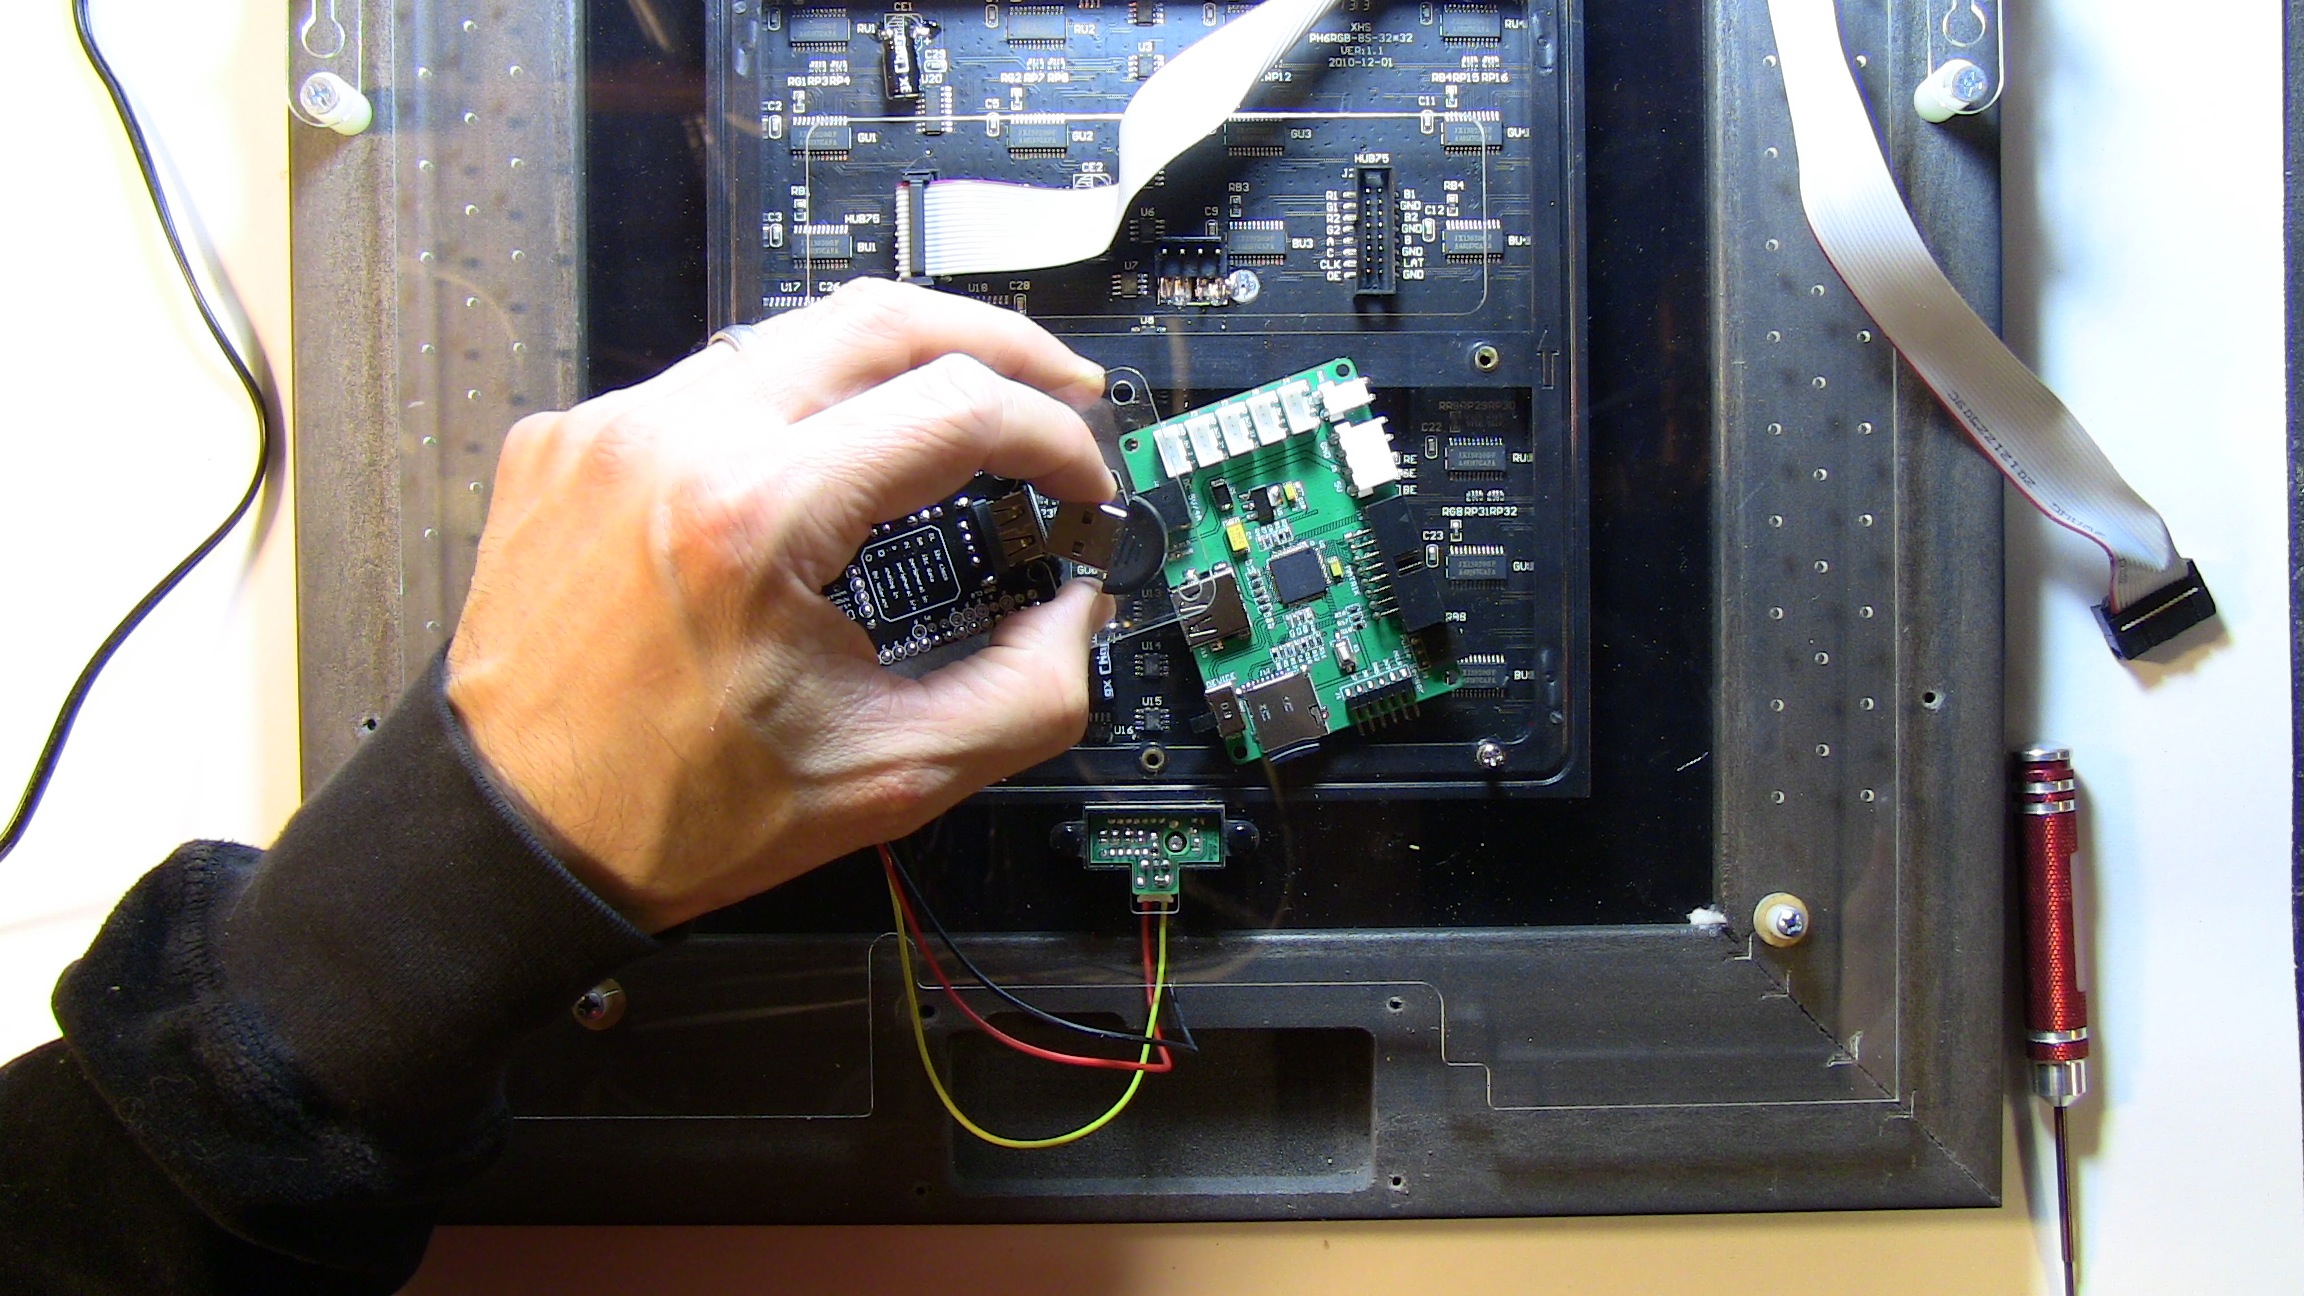 |
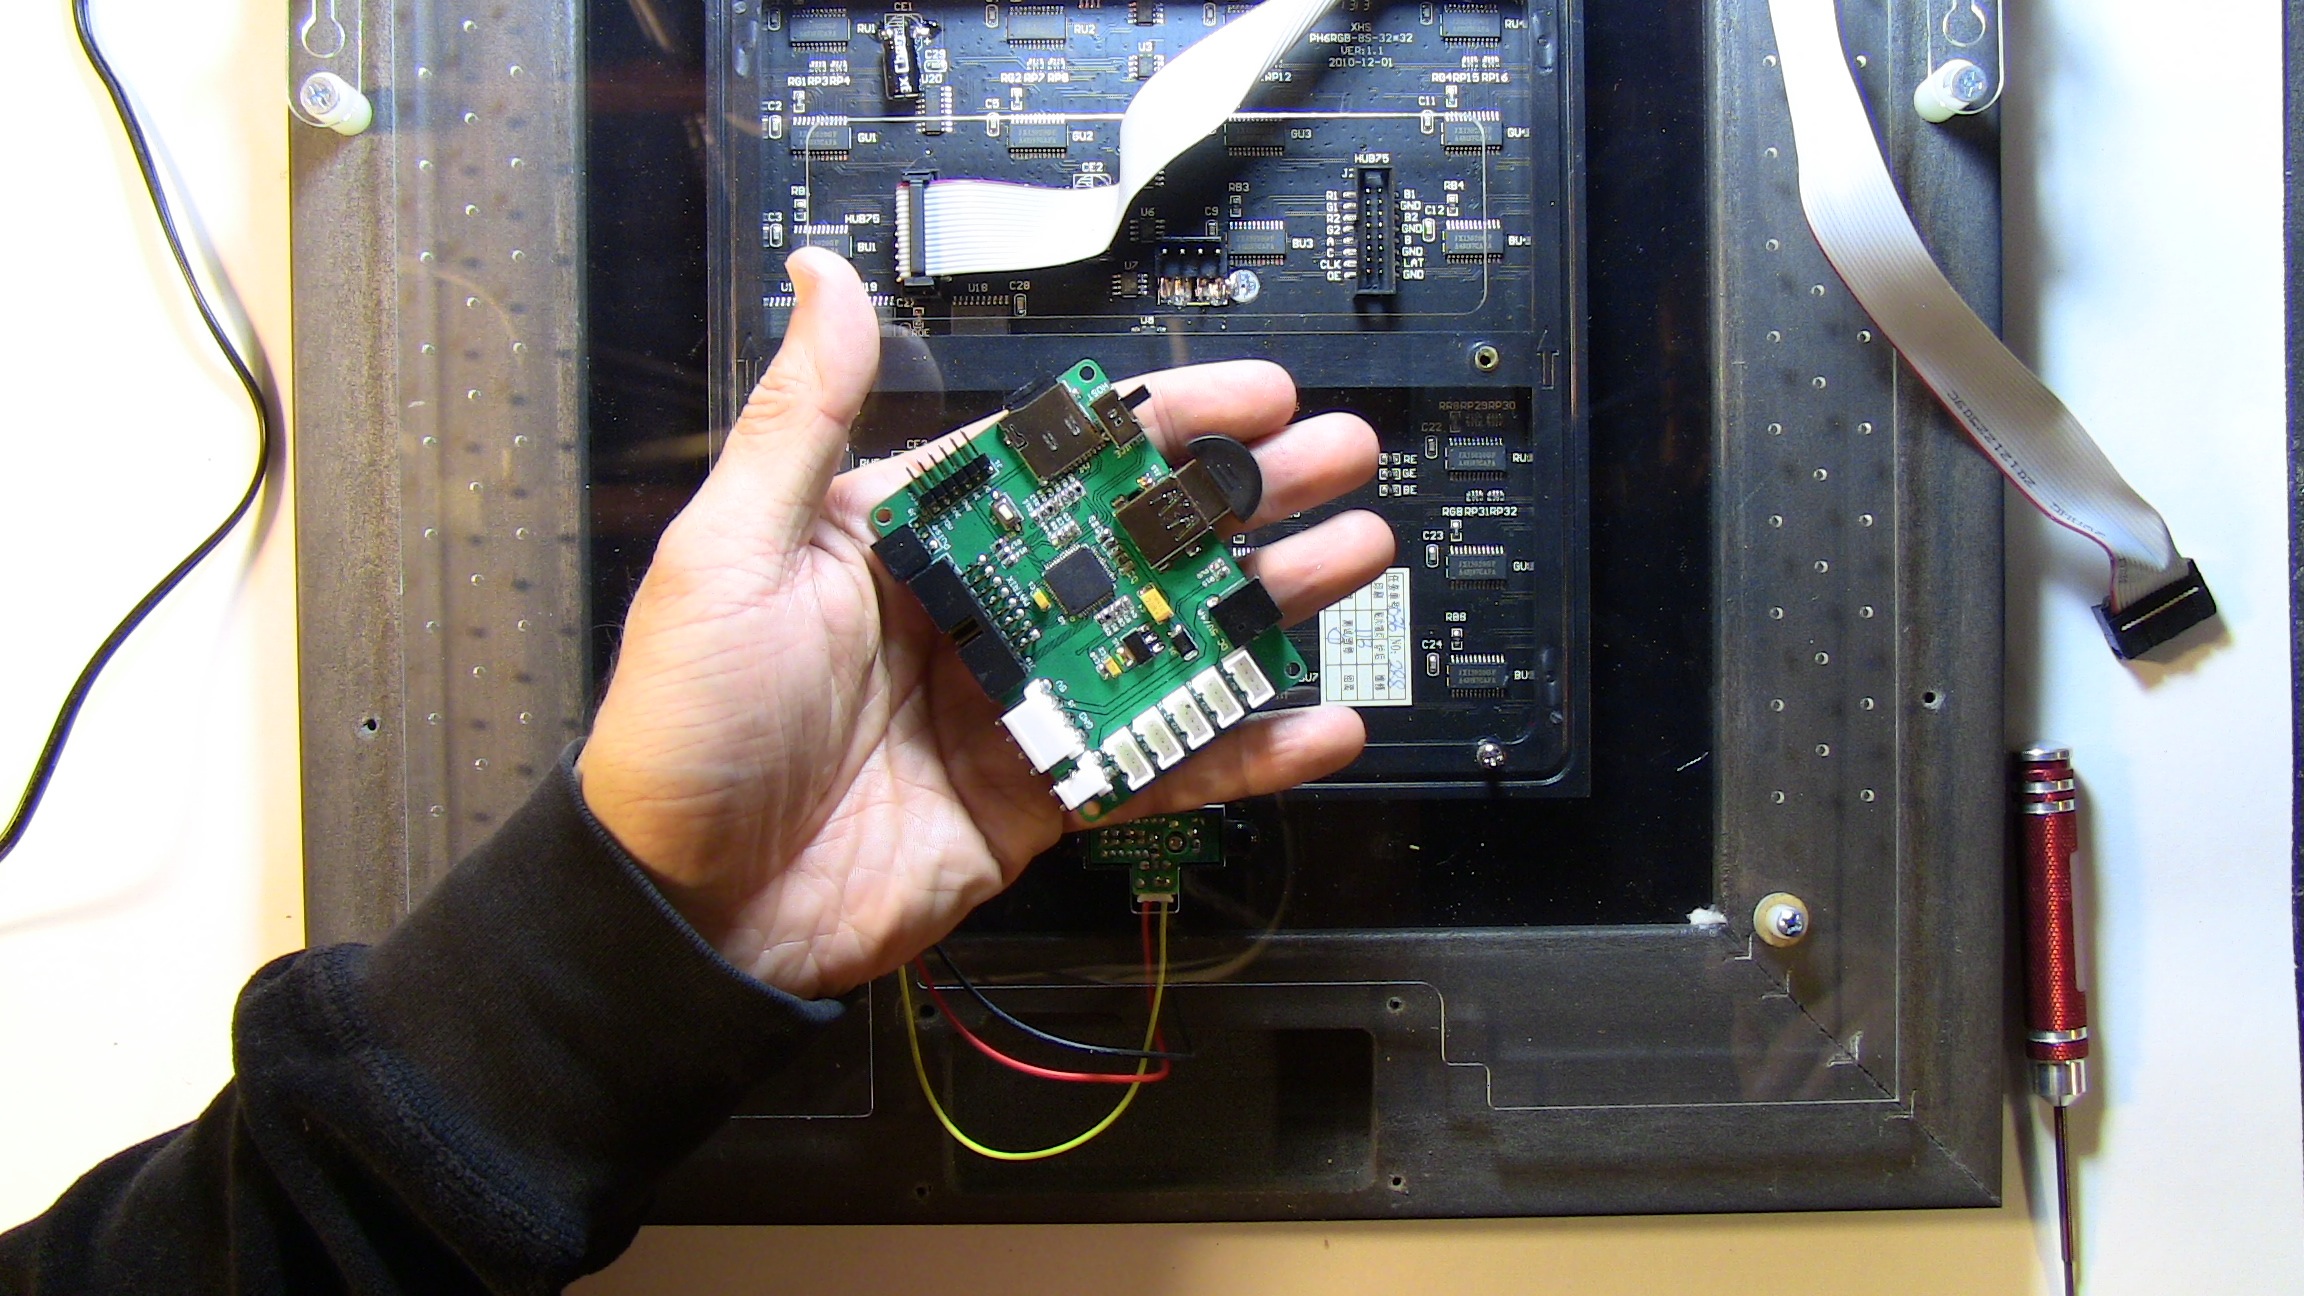 |
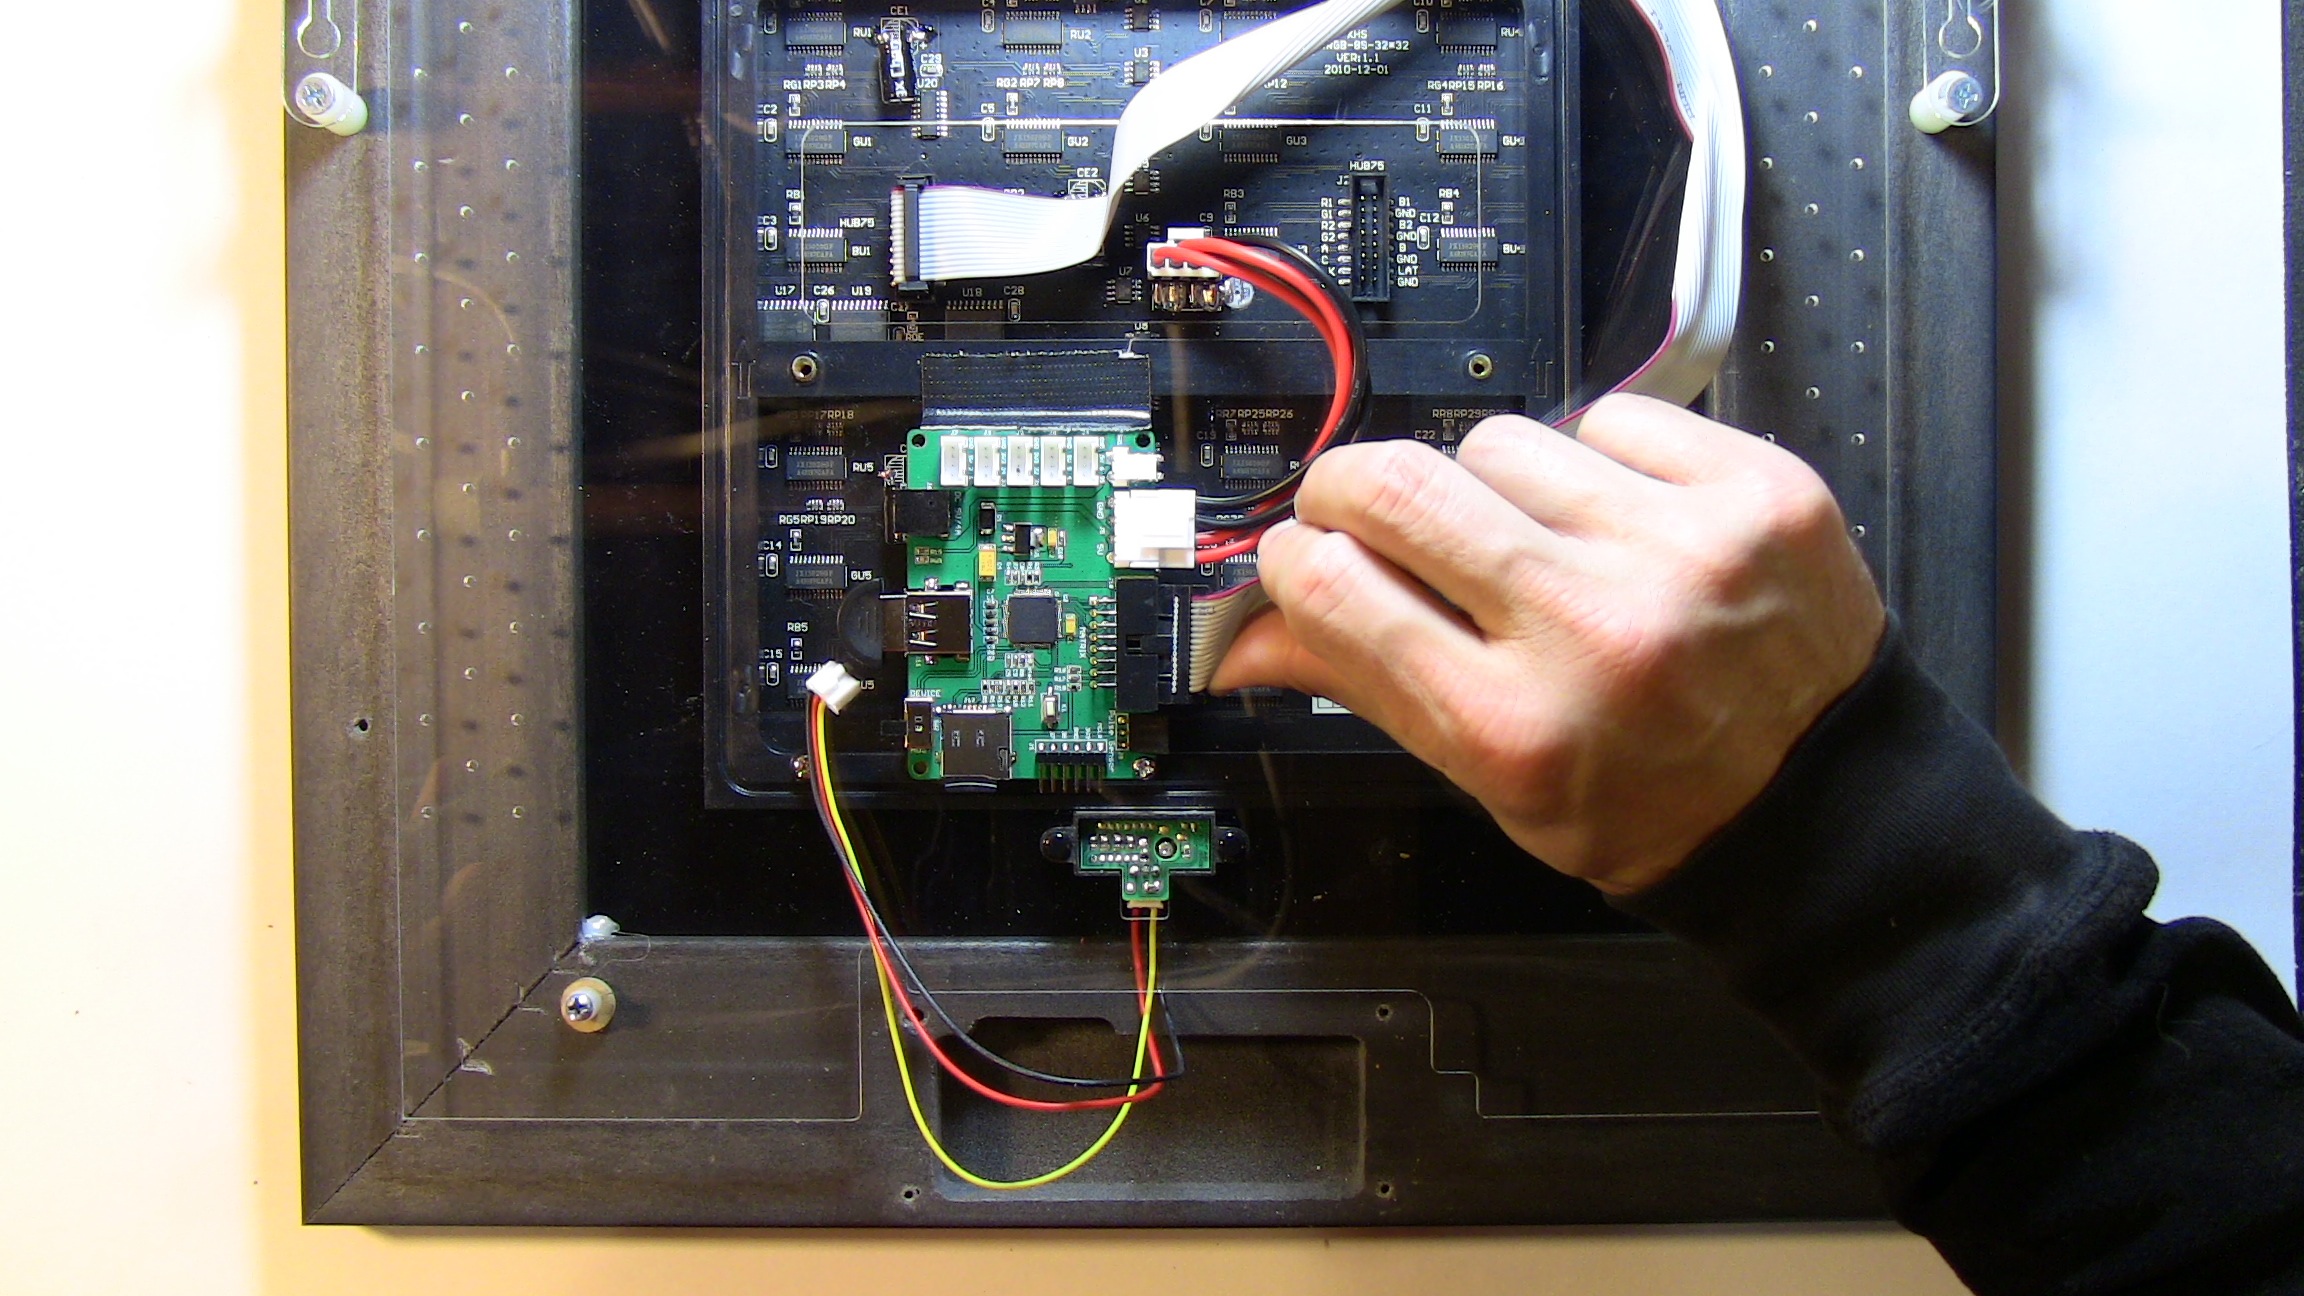
5. Unplug the power connector on the LED matrix and replace with the new, shorter power connector.
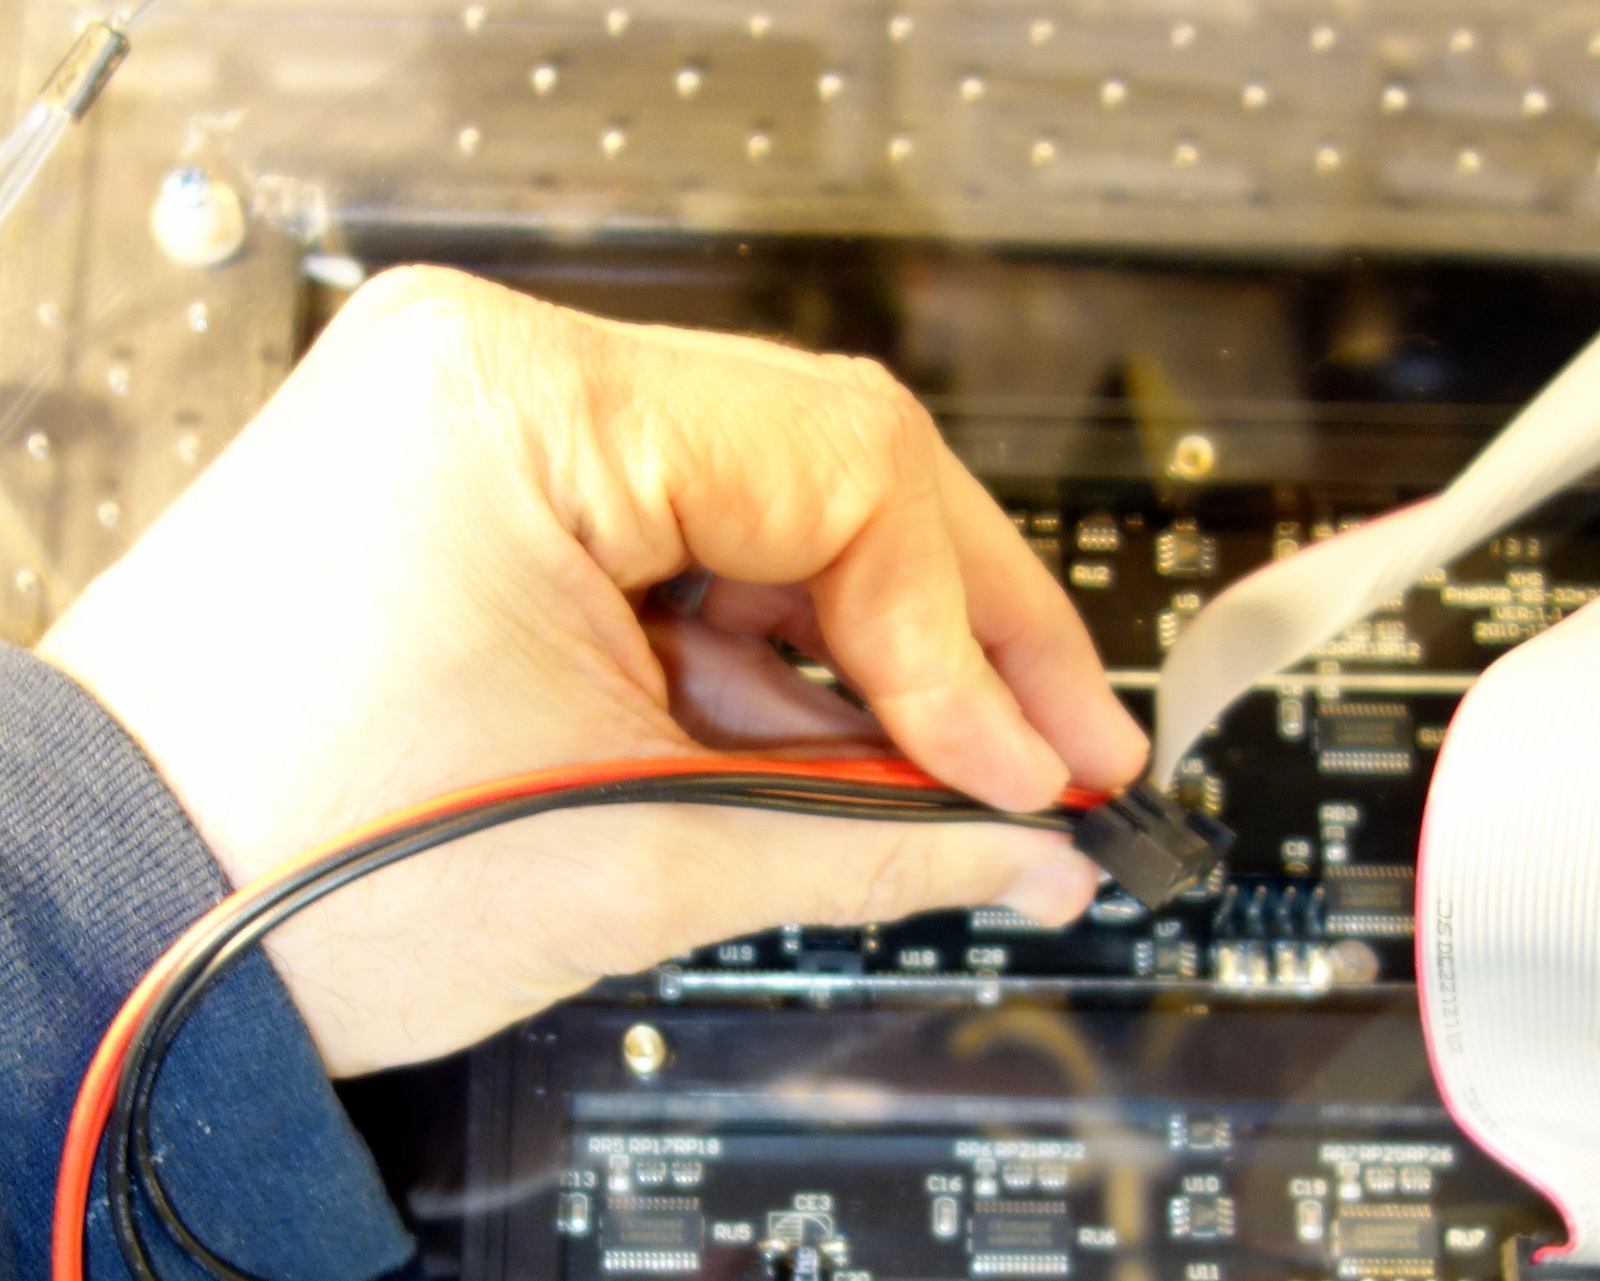  |
6. Unscrew this screw. Click to zoom in.
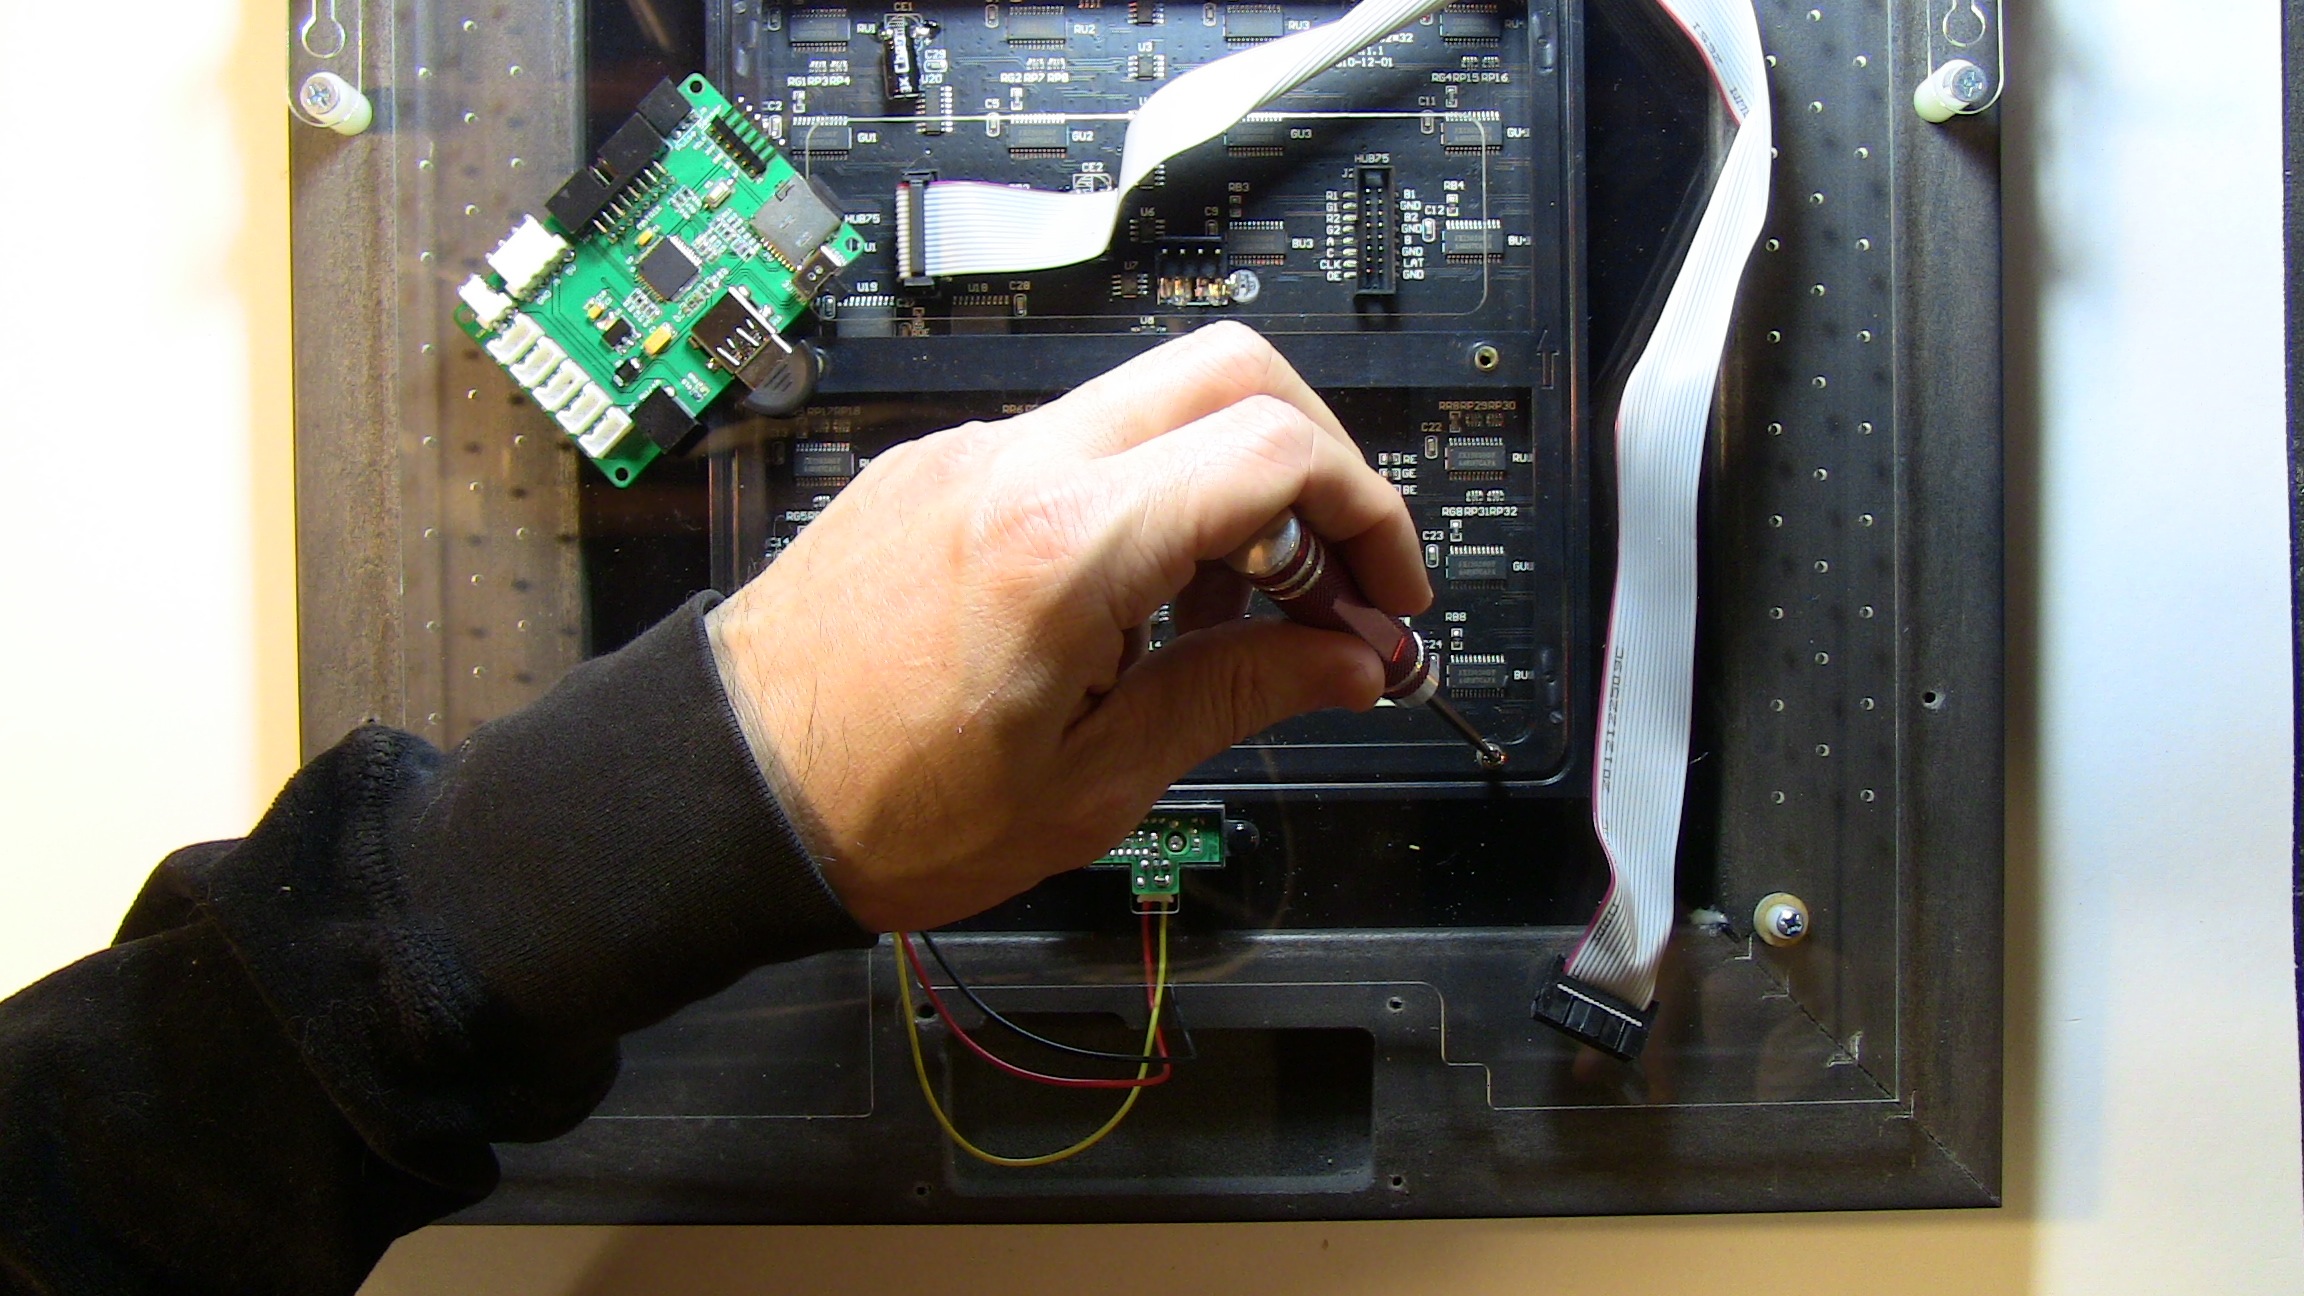 |
7. Using the screw from step 6, affix the V2 board using the bottom right hole on the board. Click the pictures to zoom in.
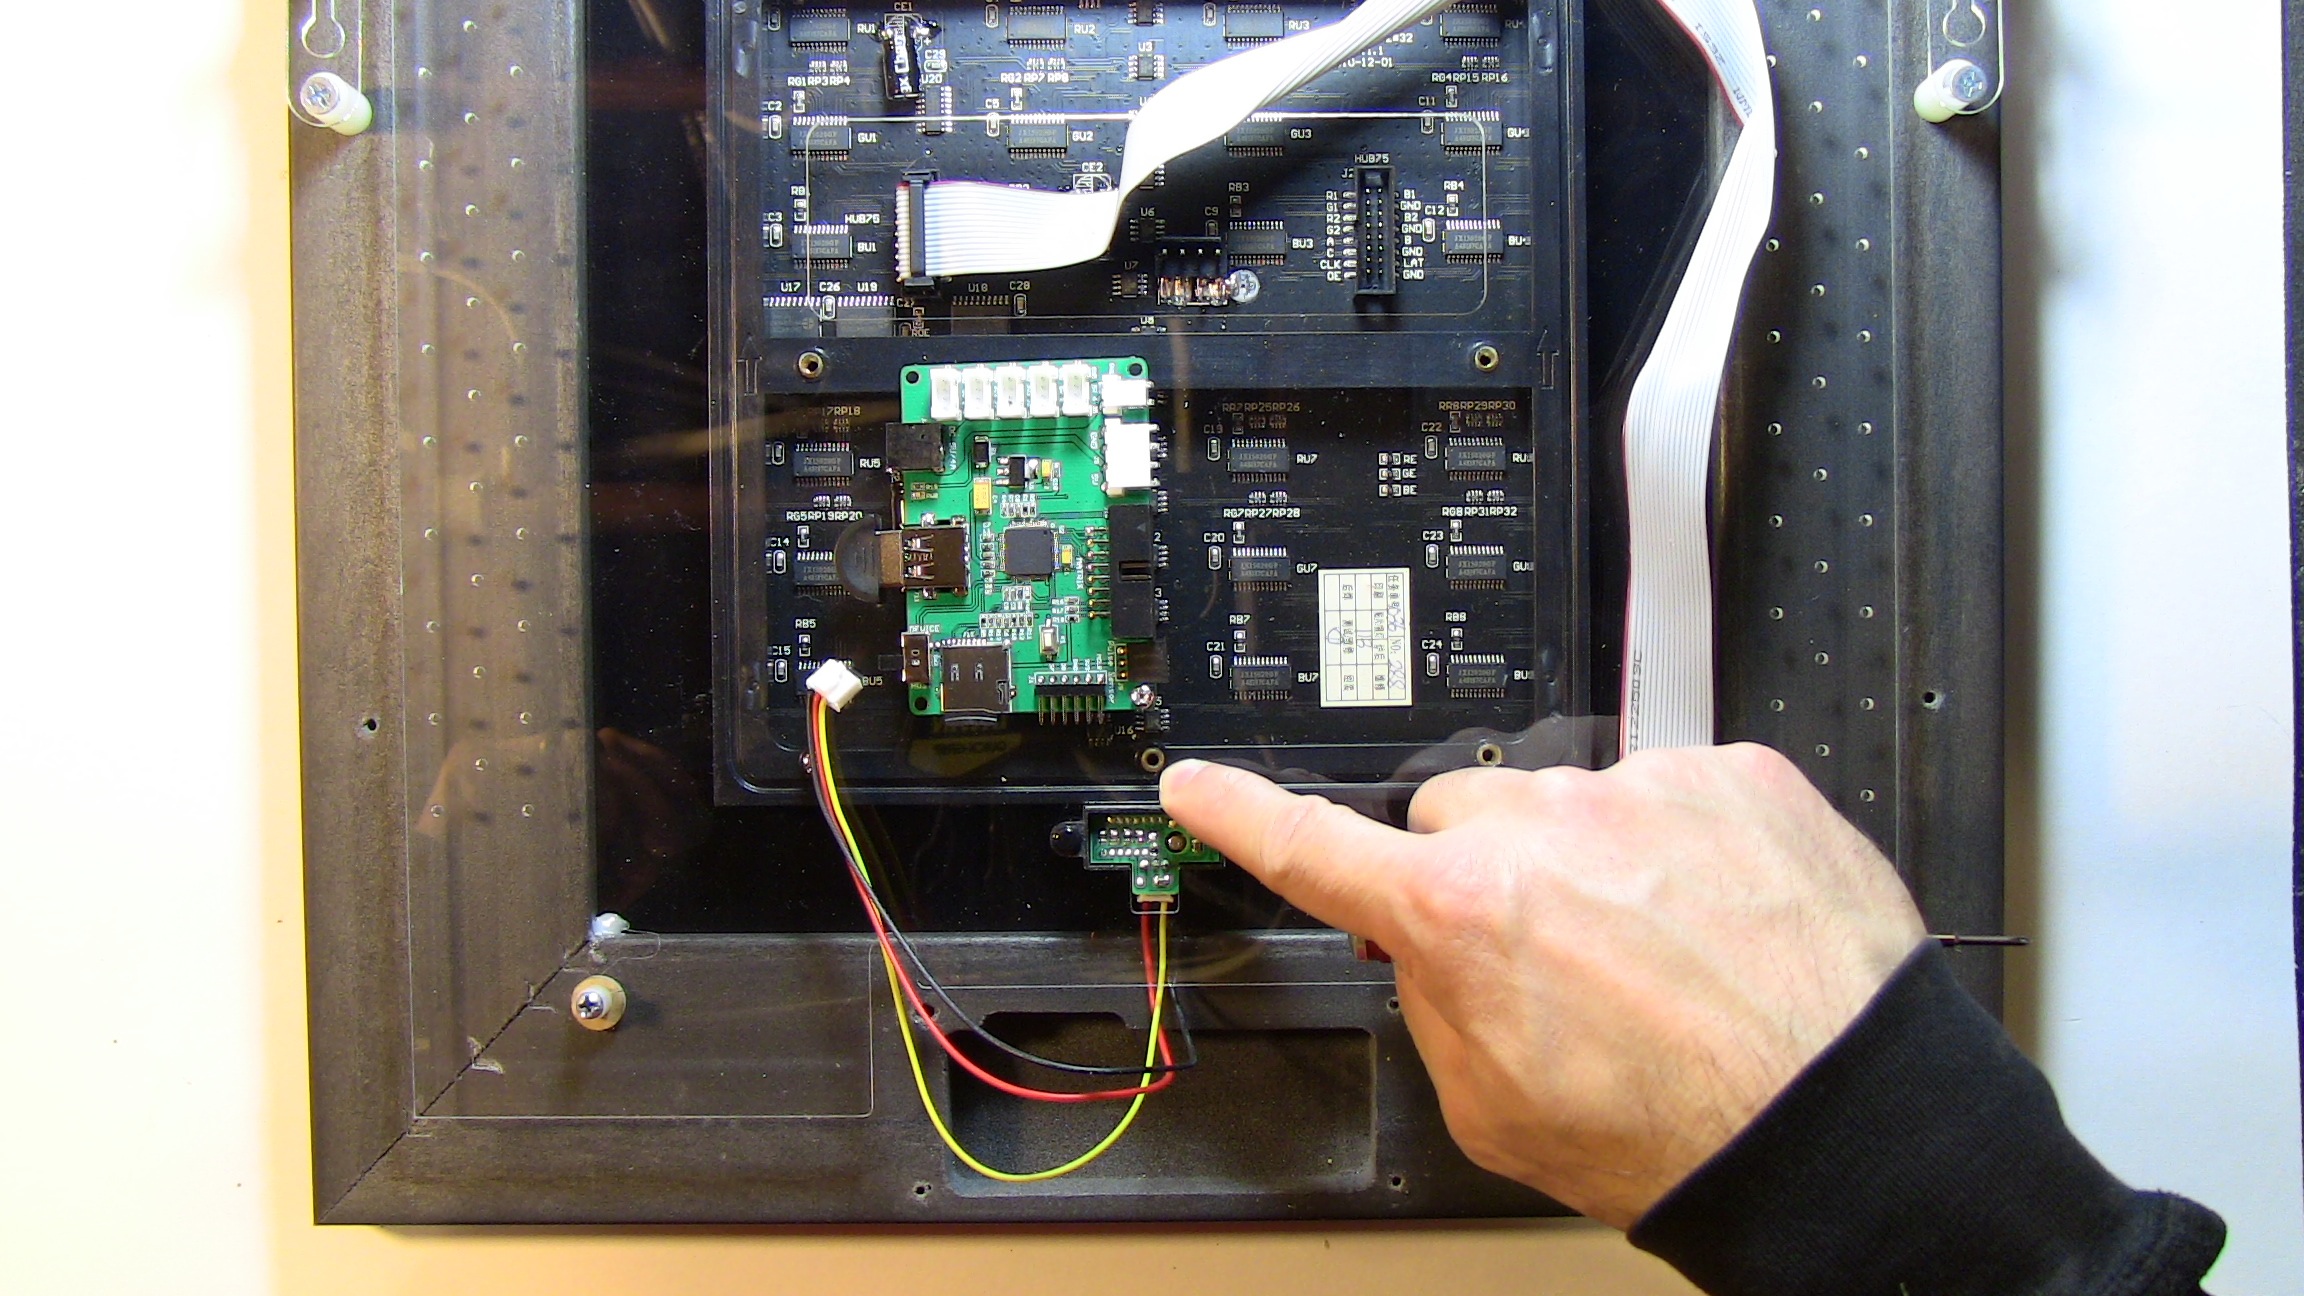 |
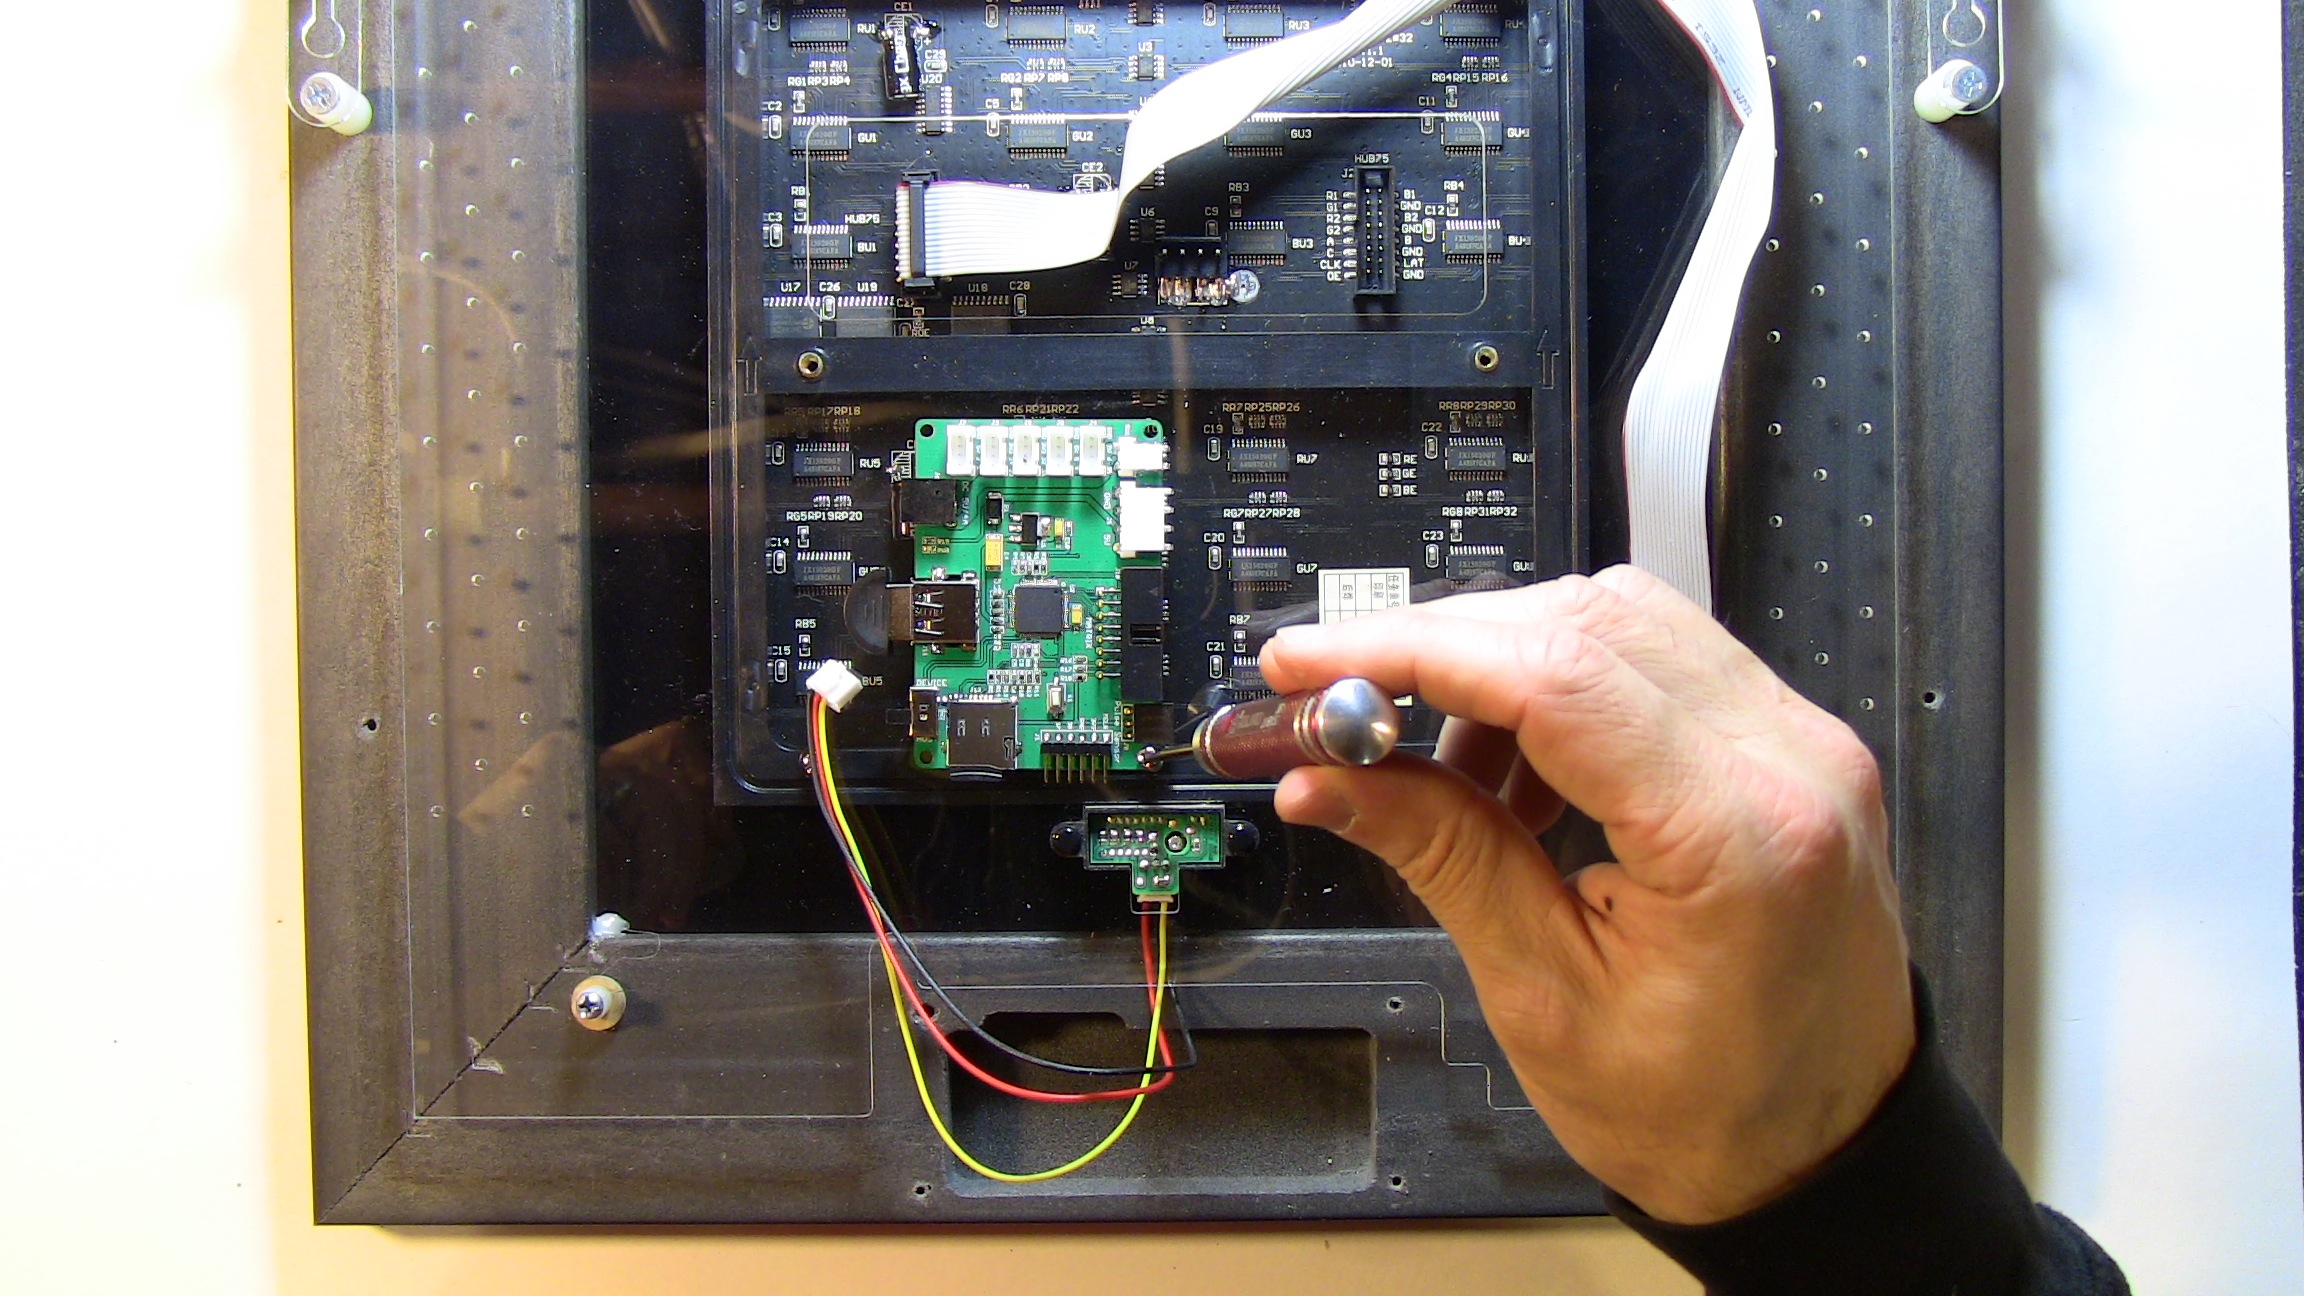 |
8. Add a small piece of duct tape to the top of the board to keep it flat.
9. Plug in ribbon cable, board power, and proximity cable to the V2 board.
 |
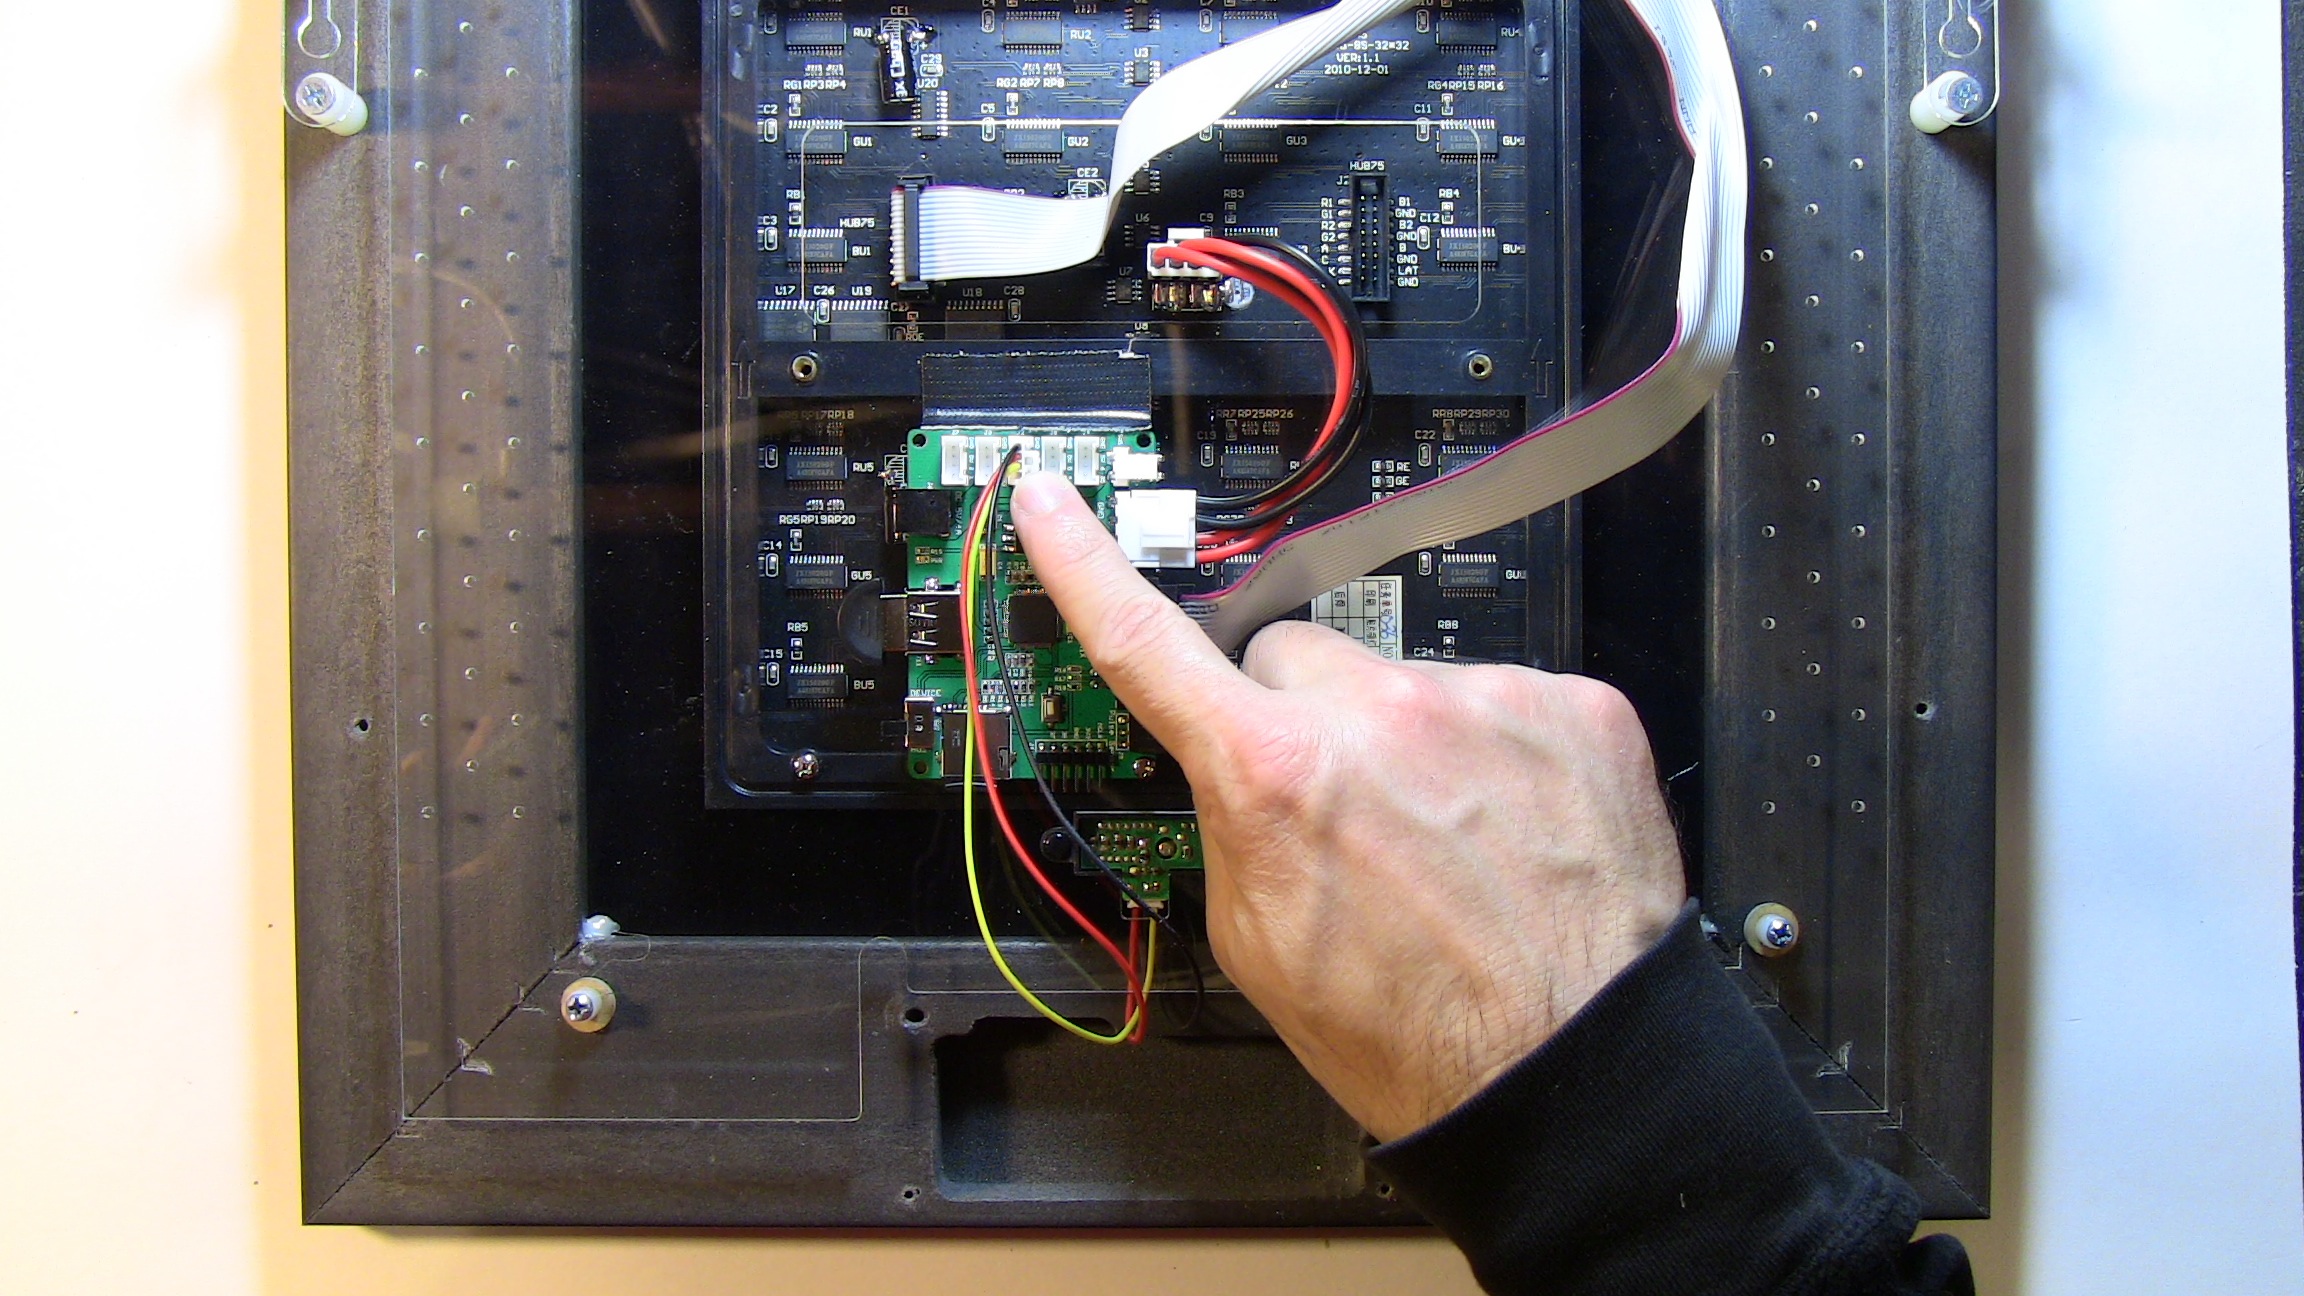 |
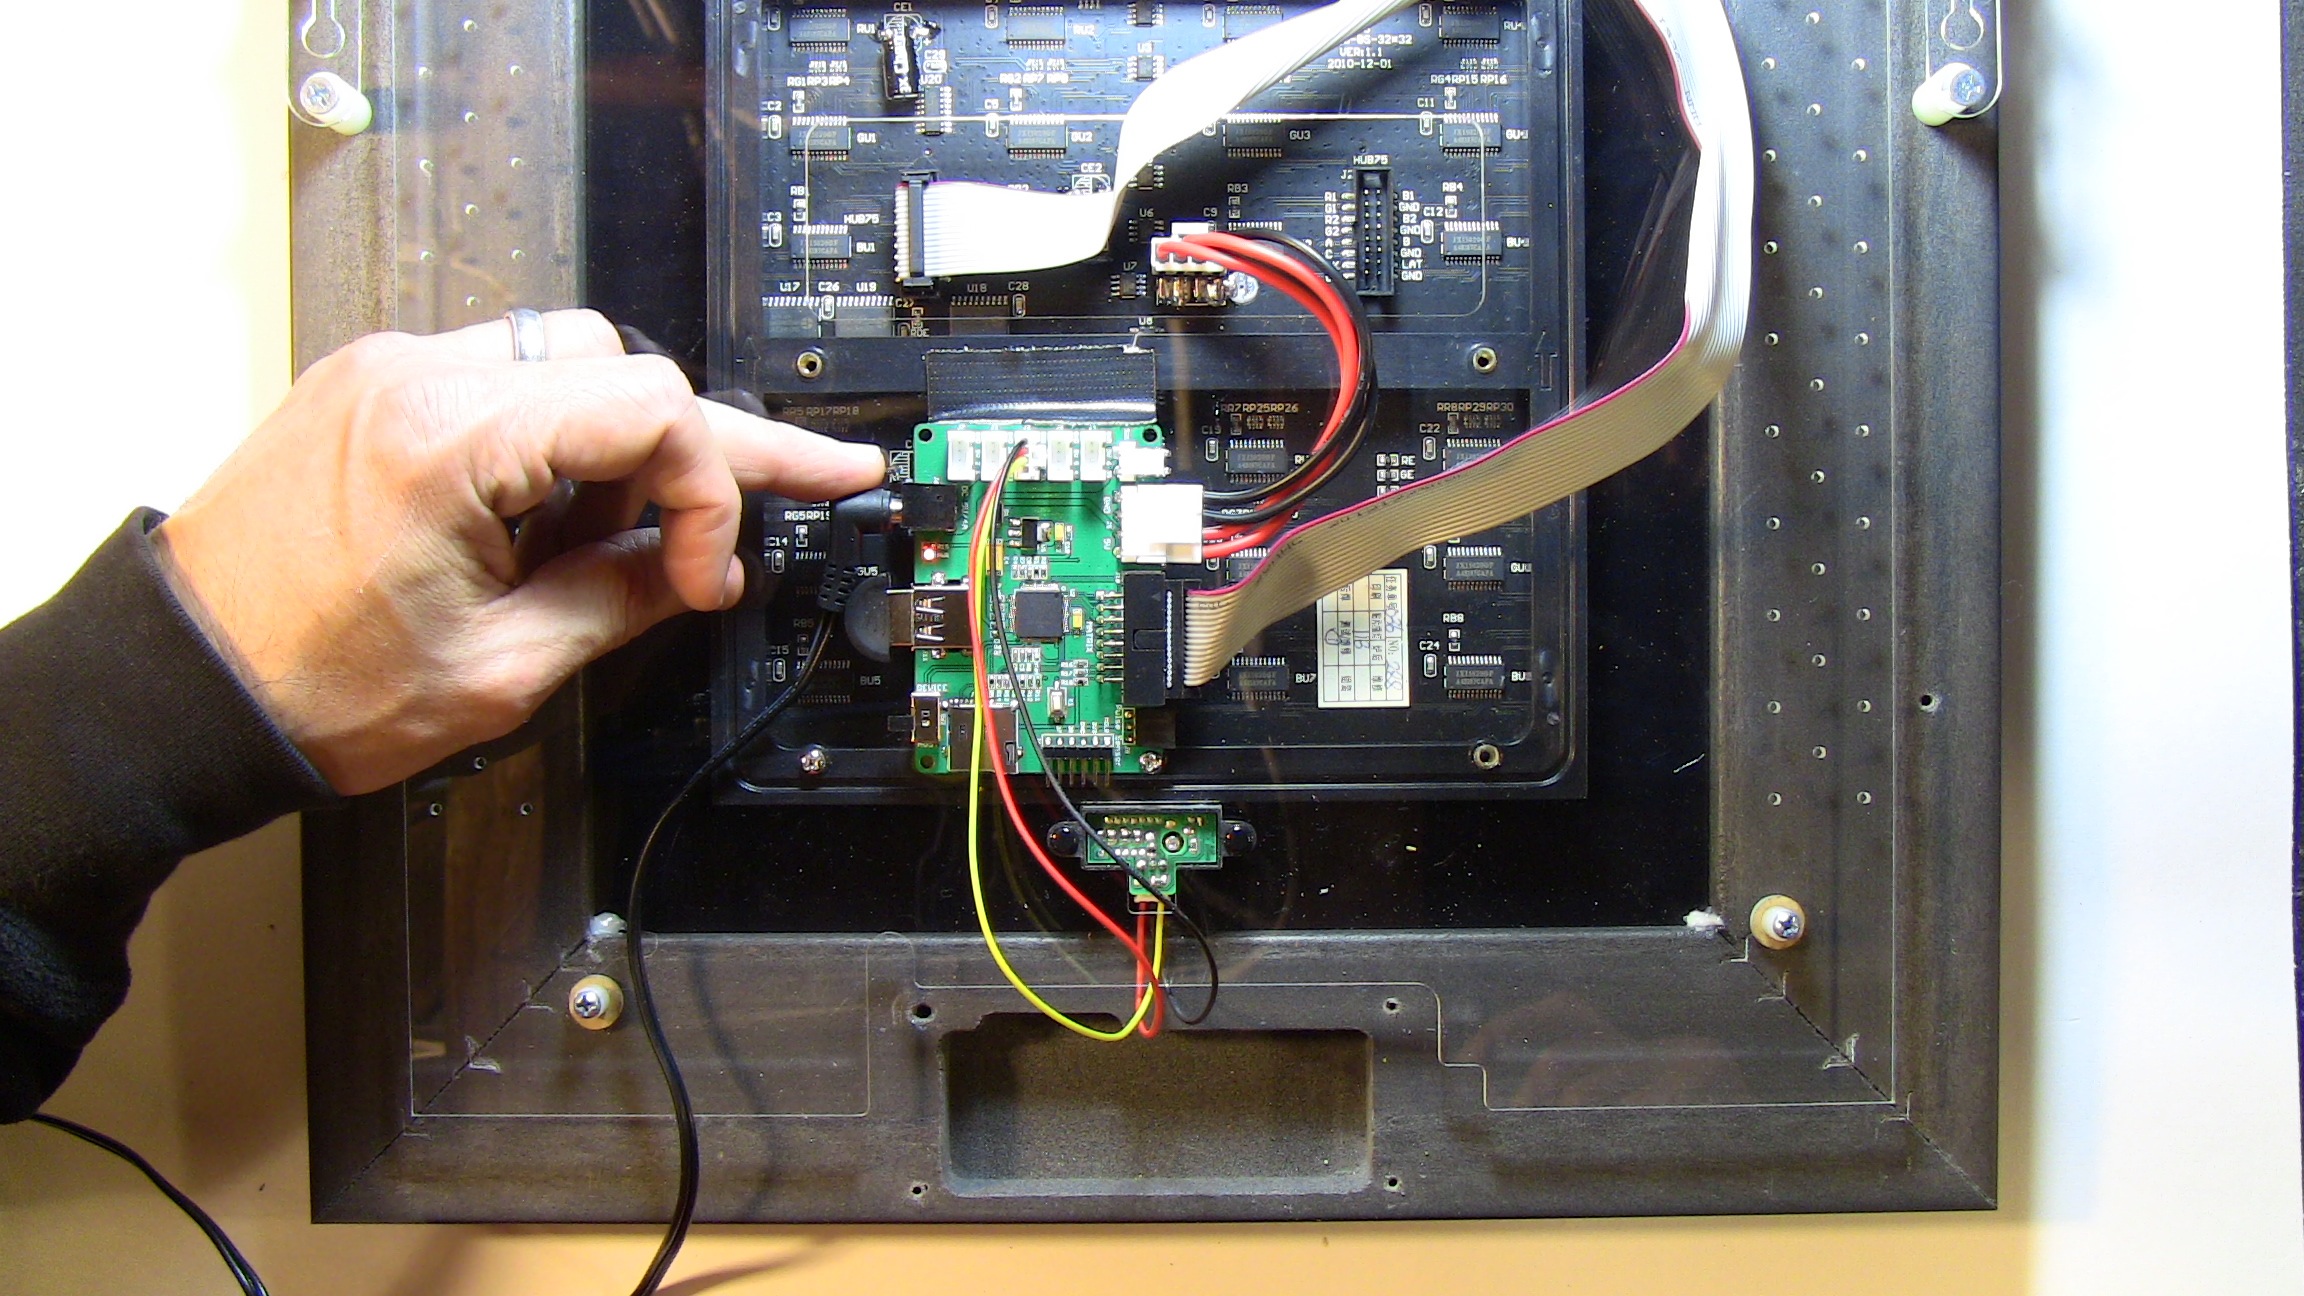
10. Plug in the DC jack board power.
11. Screw in the on/off switch and connect to the two-pin on/off switch on the PIXEL V2 board.
![]()
12. Re-attach the back case with the four screws.
You will no longer need the PIXEL V1 board. If you’re so inclined, you may re-use the PIXEL V1 board as a full IOIO development board. It is identical to the IOIOMint board without the LIPO battery and mint tin.